One of the things that has crept into Halloween decorations over the last ten years or so is the need for lighting. There are a million LED light strips with bats, ghosts, and other spooky elements, but I prefer the natural look with tea light candles.
These Tea Light holders are great because they provide a place to light a few flickers of light or use any number of battery-powered or electric lights to set a creepy ambiance.
The best part is that they are deceptively simple to make and super easy to do with the kids. They can easily put together and paint their own creepy new buddy for use as a nightlight (be sure and use the LED lights for that) or as just something fun to celebrate the Halloween season.
Dig Up Your Materials
The material gathering for these tea light holders is relatively simple, as you can cut them from almost any plank, depending on your available space.
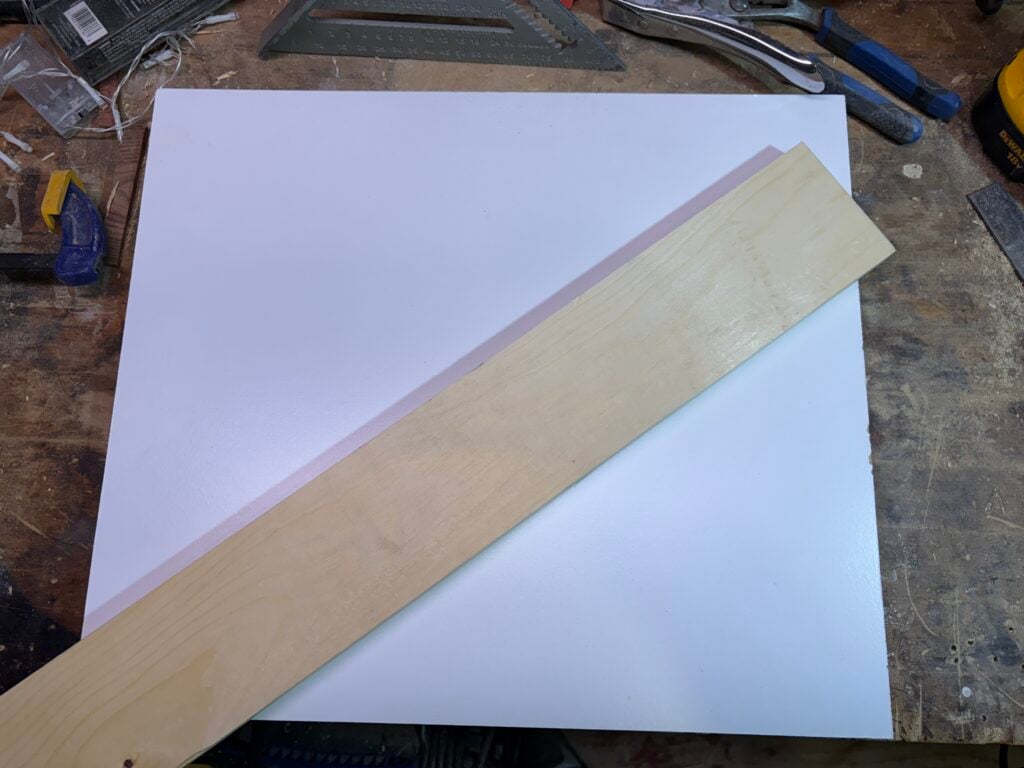
I’m using pine, which is about 4 inches wide and an inch thick, stock that’s available at pretty much any hardware or craft store. Tastes great too!
Step One: Enter The Saw Franchise
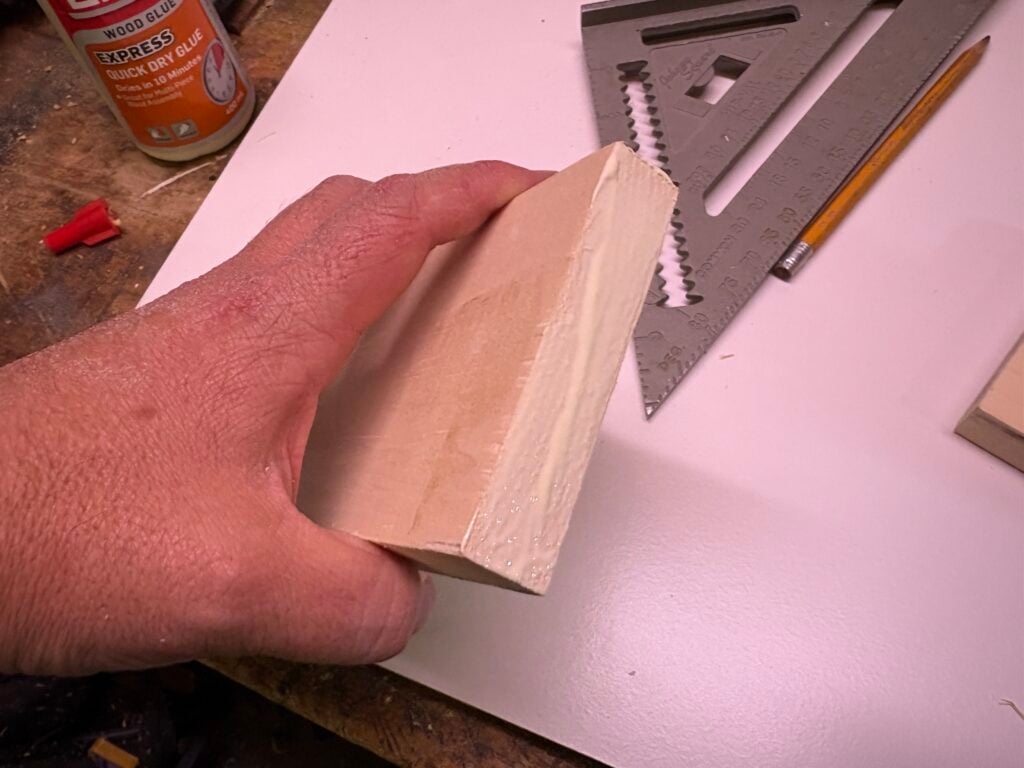
The first thing to do is grab up your trusty speed square and mark out a square piece from the end.
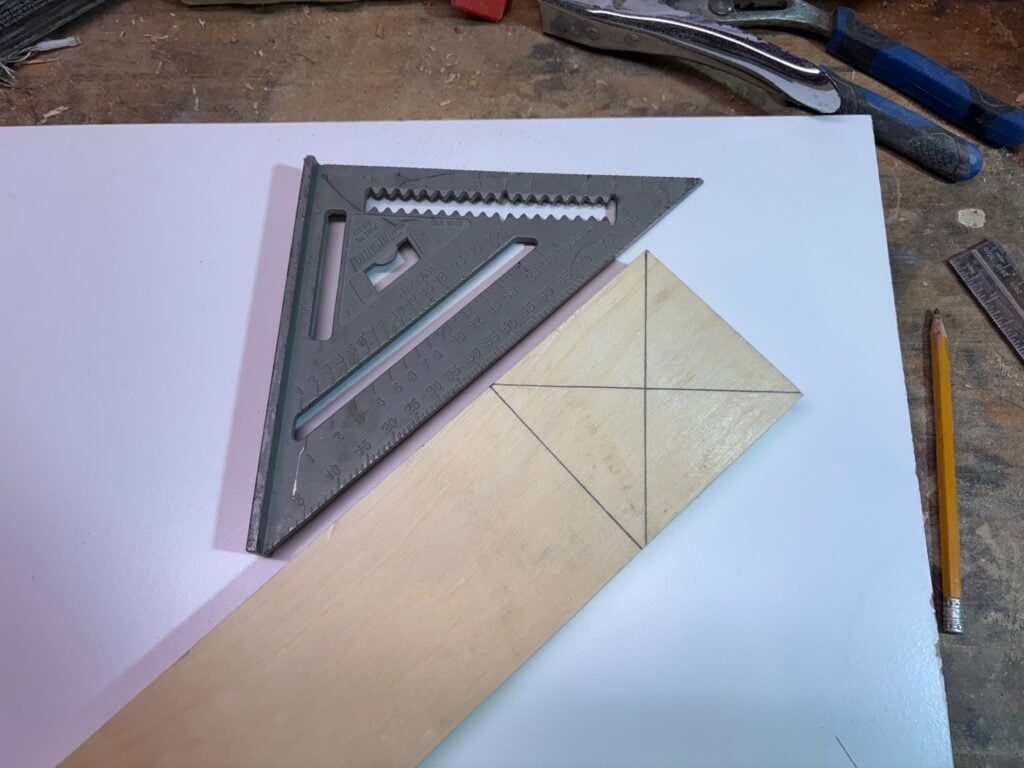
Cut that off with your hand or miter saw, then mark out and cut a piece about six inches long.
Now you should have two pieces of the same width that will make, well, all of this thing.
Step Two: Create Some Creepy Lines
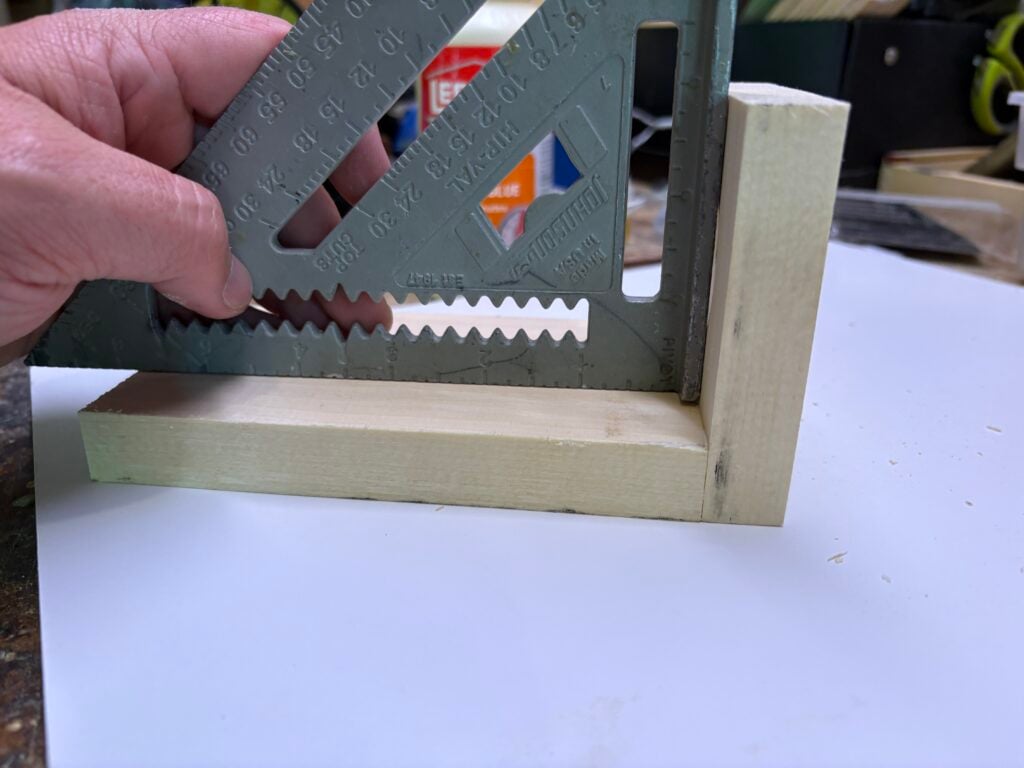
Next, grab that smaller piece and mark out a line the same thickness as the other piece.
From there, use your speed square to find the center of the smaller piece, excluding the area of the thickness of the other piece.
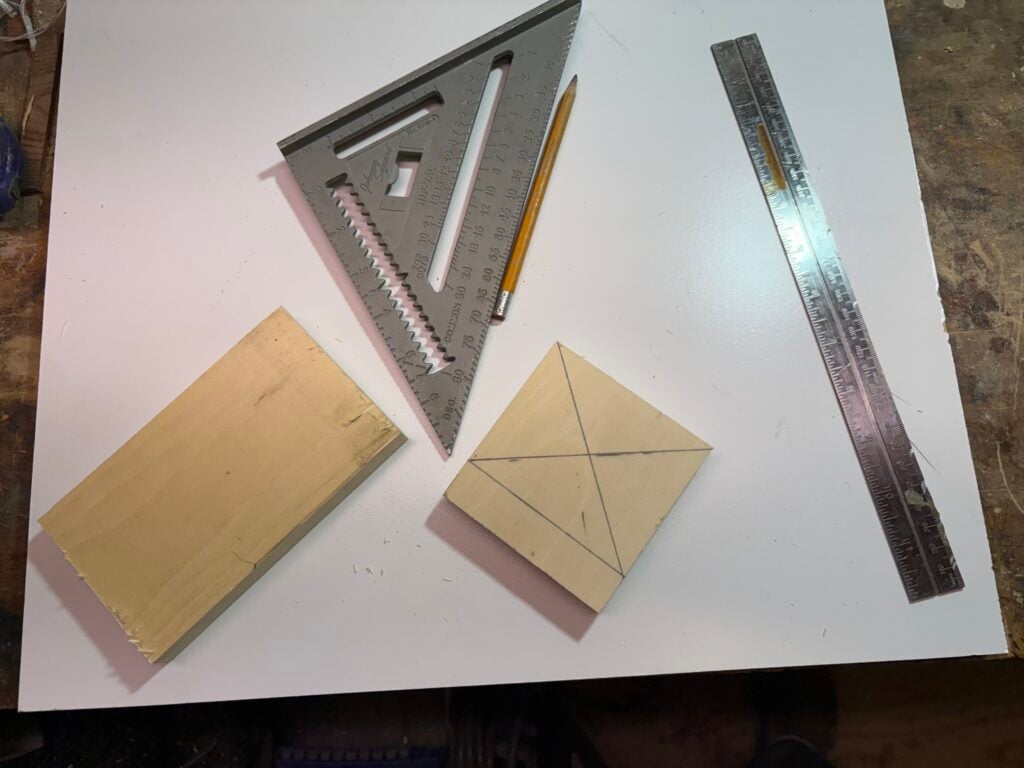
This will allow you to drill out the recessed area for the tea light to sit and have it be centered once it’s glued up.
Step Three: Drill Baby Drill
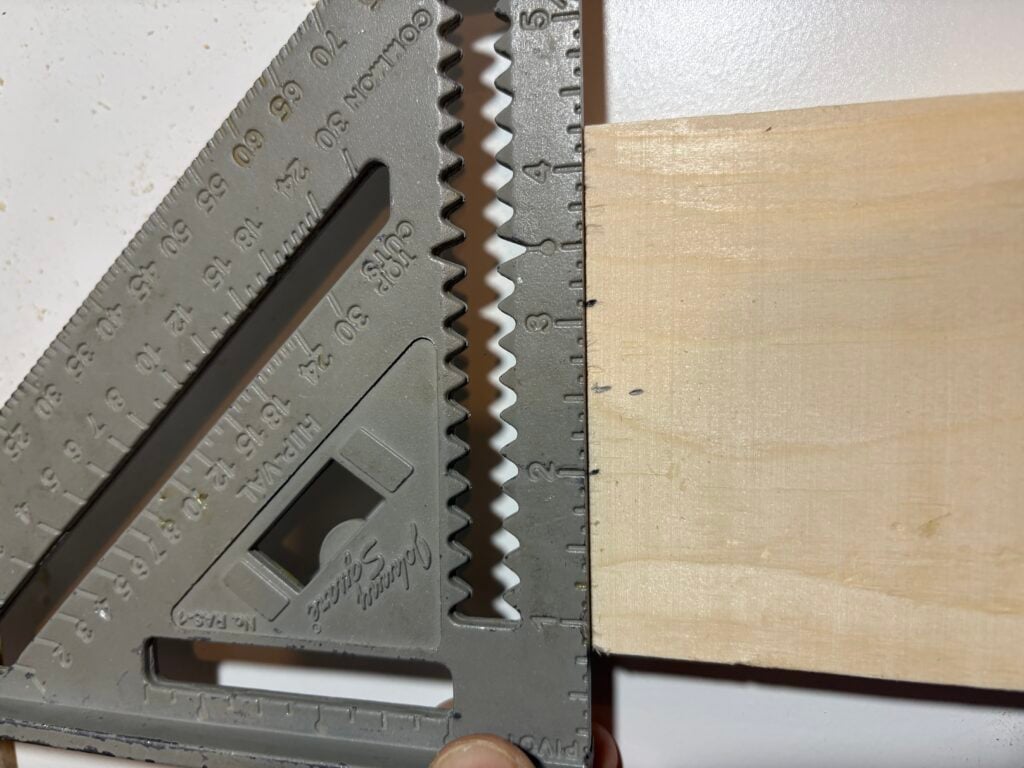
Using a 1.25 or larger Forstner bit, drill down into the marked piece about 1/8 inch.
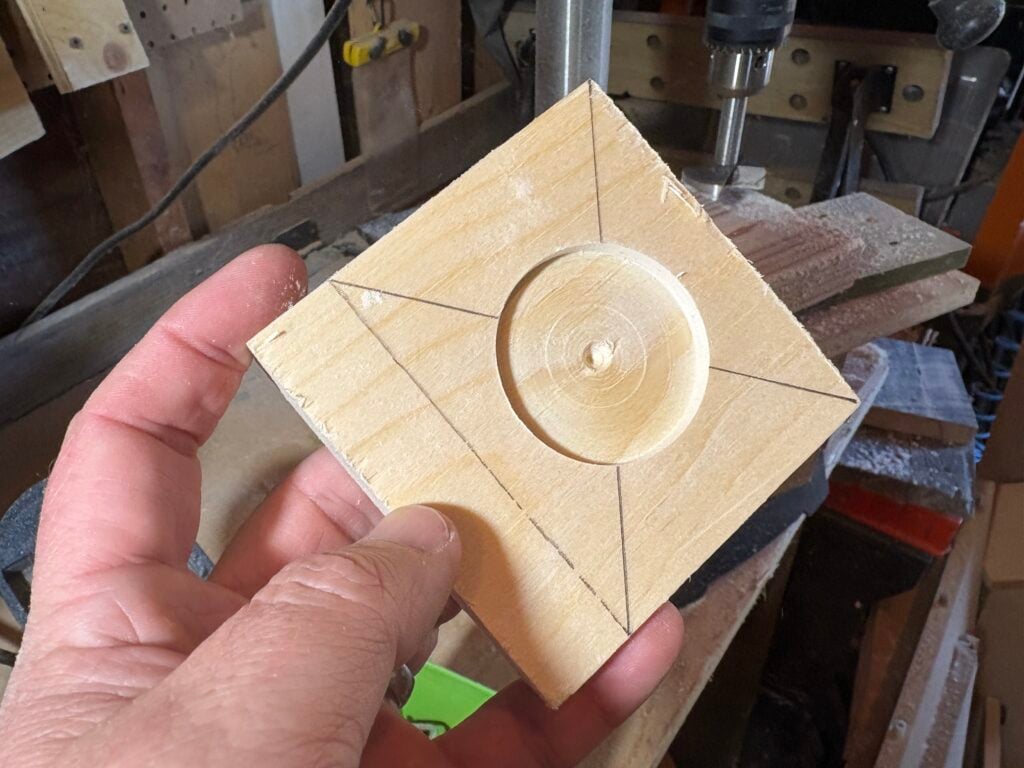
You can also skip this step and place the tea light directly on the wood if it’s easier. You can also drill deeper if it tickles your fancy.
Step Four: Don’t Fear The Blob (of Glue)
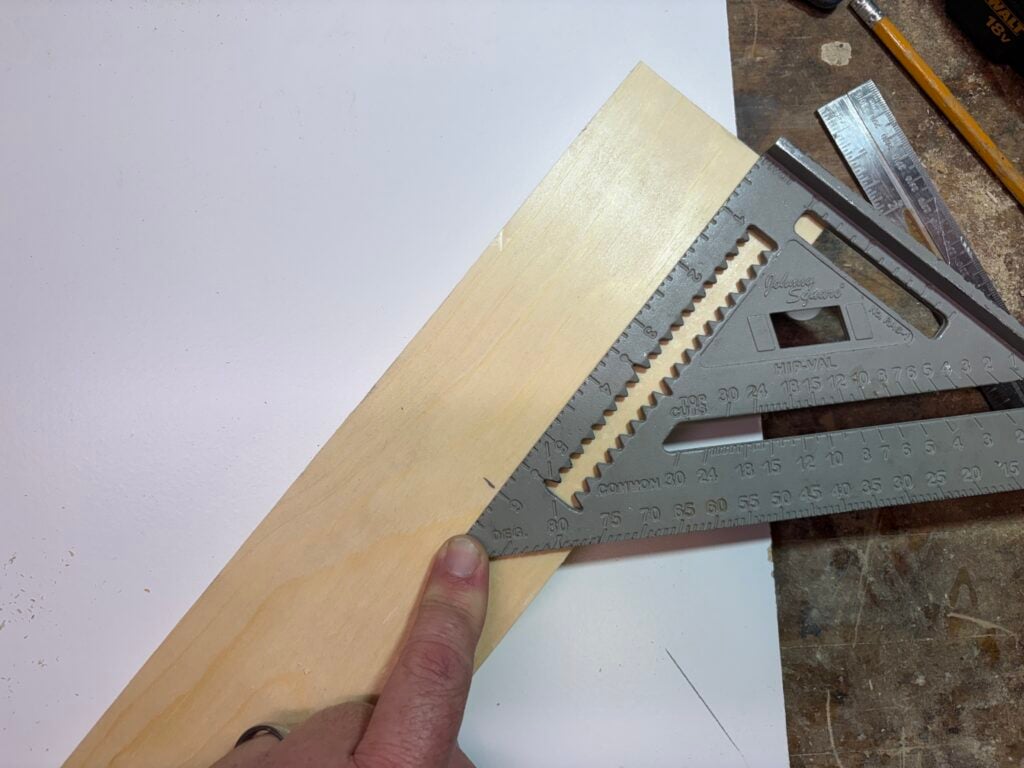
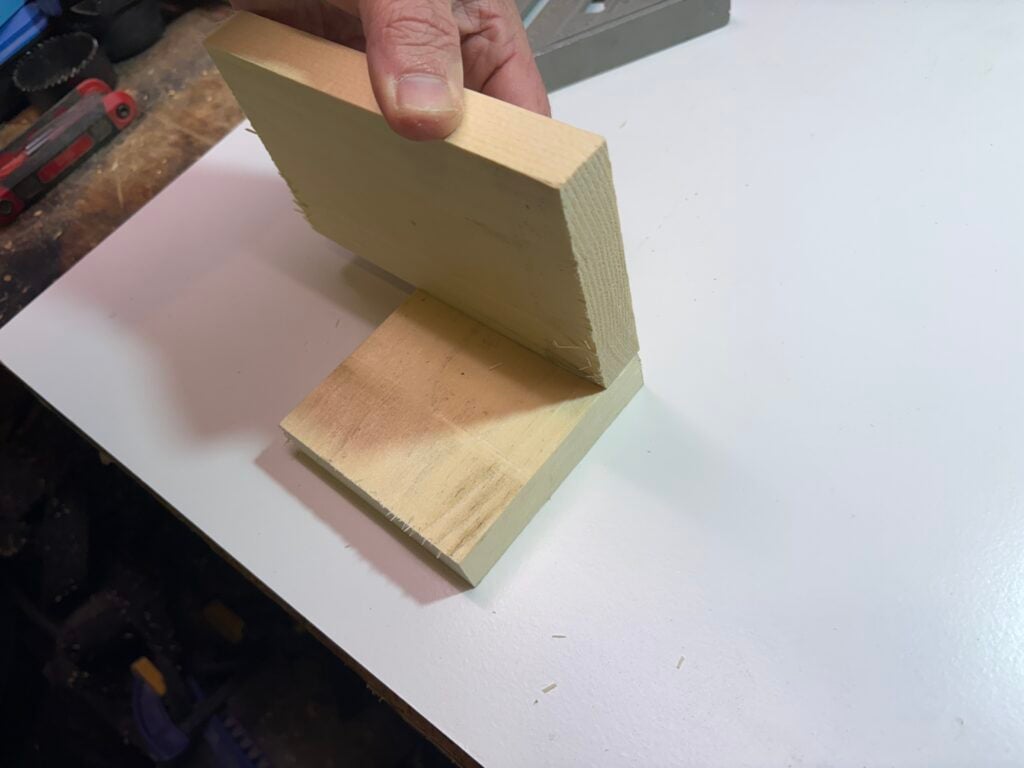
After sanding to remove the pencil marks and achieve your desired smoothness, apply glue to the bottom of the longer piece.
Place the longer piece on top of the smaller piece, and it should fit snugly in the area you previously marked. Use your speed square to make sure it sits at a 90-degree angle.
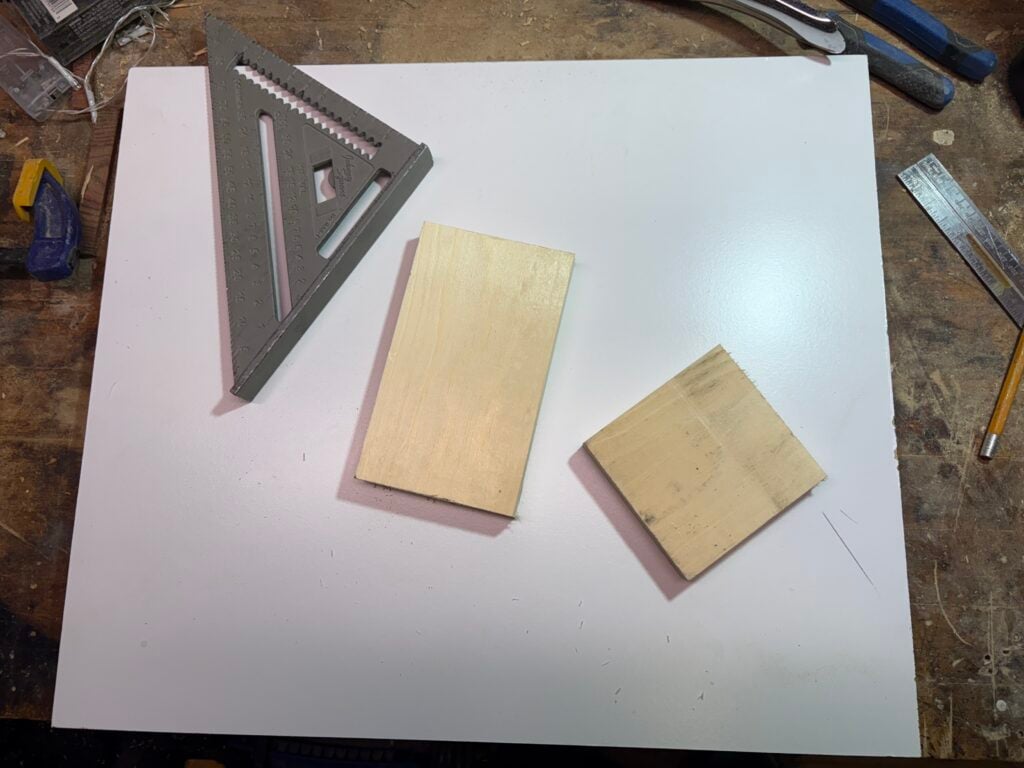
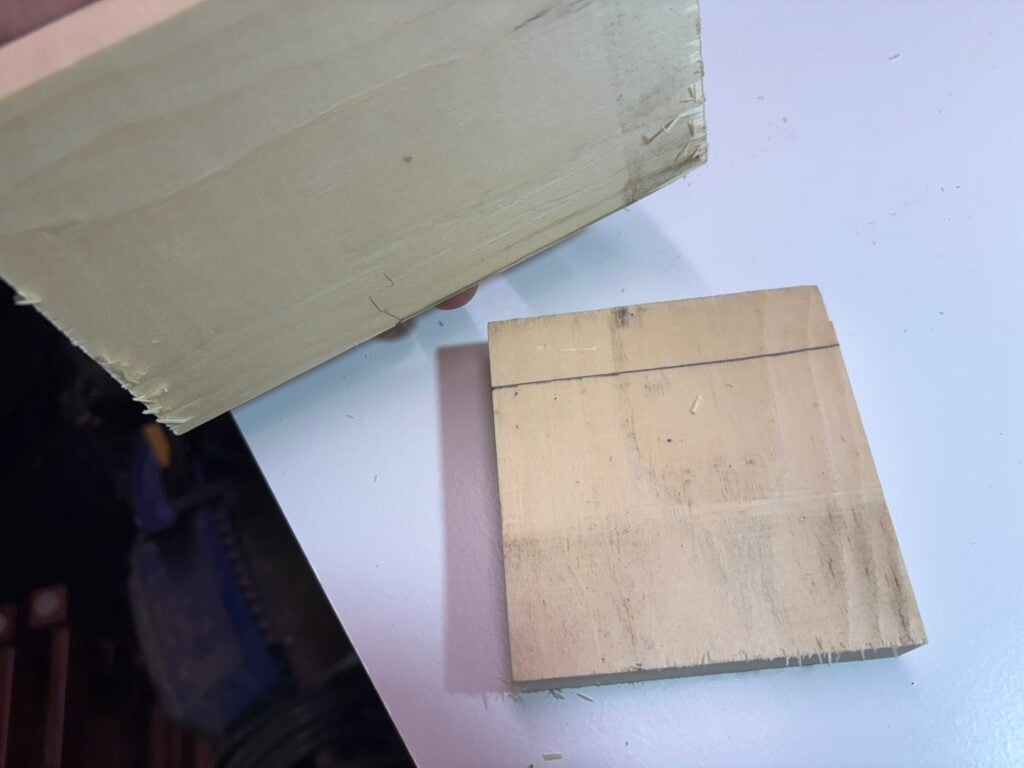
Clamp them together and let the glue set for the indicated amount of time on the bottle. Have a sandwich, take a nap, or do something. If anyone gives you grief about it, tell them it’s “part of the process.”

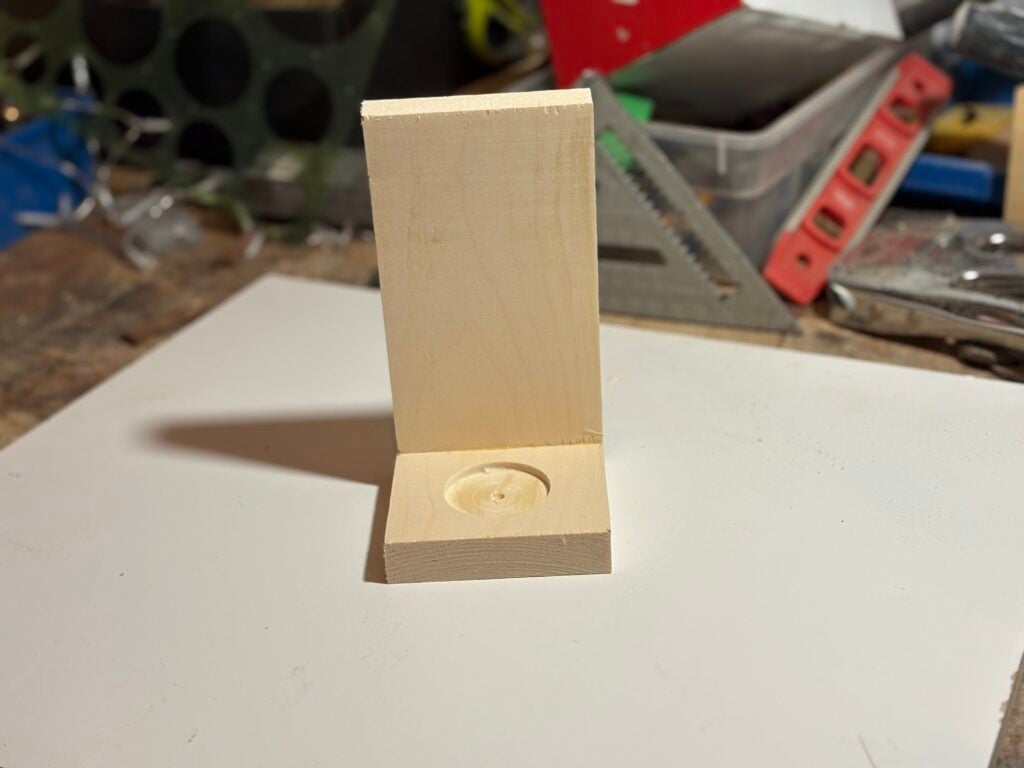
Once it’s good and you’re feeling refreshed, sand down any excess glue or offset bits, and you should have something that looks like this:
Step Five: Bring Your Monsters To Life
And now the fun part! Customization!
Find the center of the top of the tea light holder and mark two 45-degree angles, leaving about an inch or so in the middle.
Cut these off with your miter or hand saw.
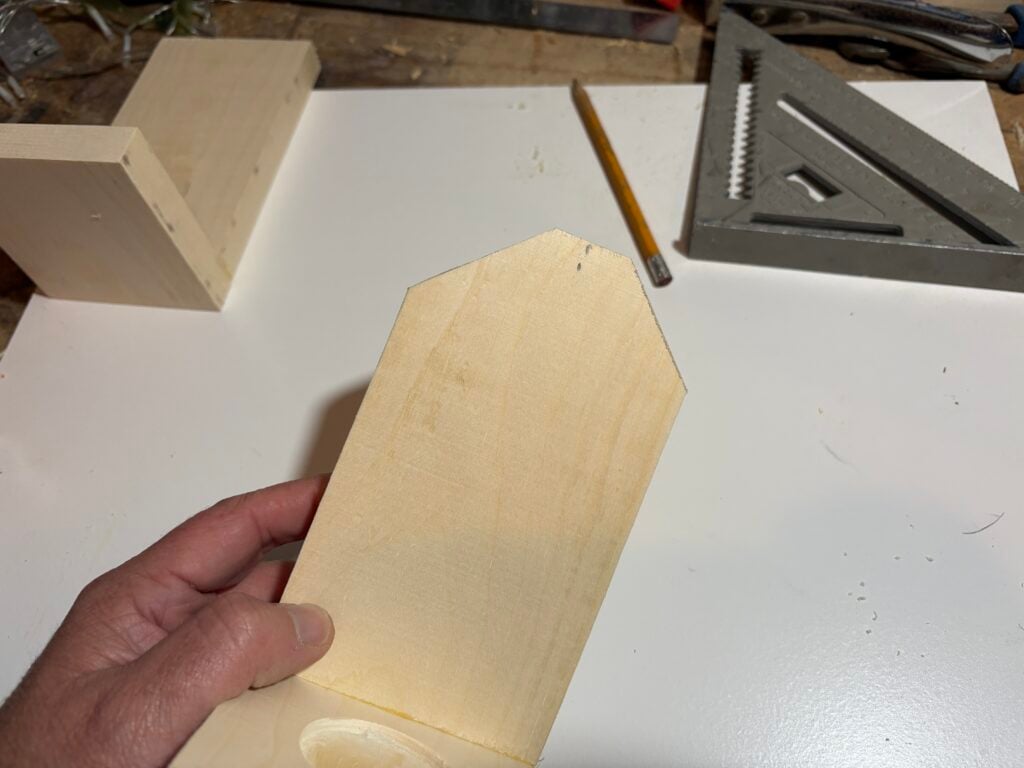
If you’re going the Ghost route, use your sander to round the top up, or you can leave it as is or even leave it square. For the Jack-0-Lanterns, I also cut a bit of scrap wood to use as a “stem.”
Finally, figure out your spookiest creature faces and get to painting! I used simple acrylic paints that you can find at any craft store to scare up some pumpkins, ghosts, and monsters!
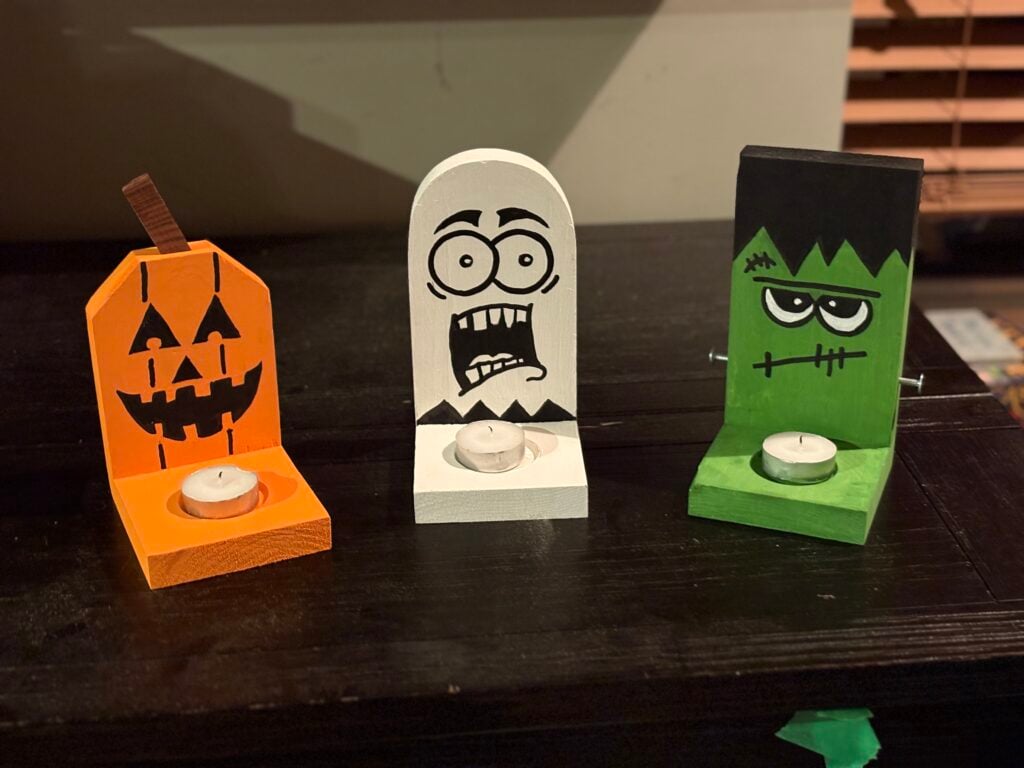
There are a million ways you can paint these up, and they offer not only some light in dark times, but also some spooky fun that you can add to again and again over the years.