As the summer weeks drag on, it gets harder to find things to do with kids who aren’t at camp or visiting relatives. In our house, the refuge from potential boredom is the workshop. I bought my kids toolkits when they were barely out of the toddler stage because I love building things, and I want them to be handy when they grow up.
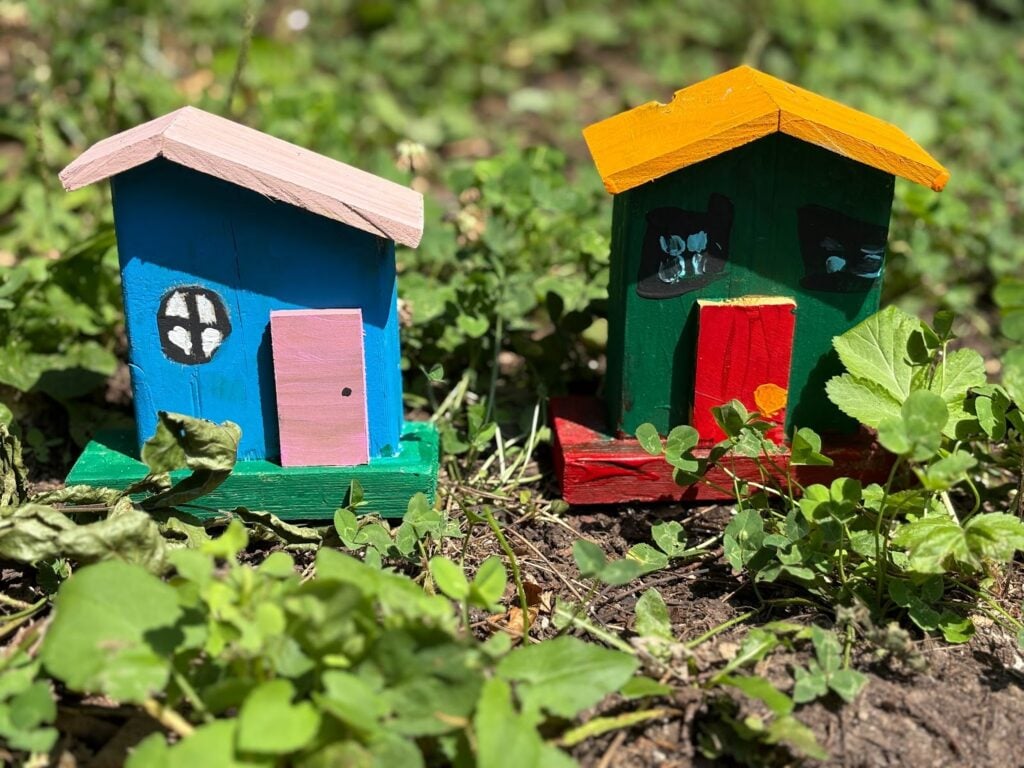
Before they take on home renos, though, I’ve come up with a few projects that involve minimal tools and materials, but maximize the fun of building something. These tiny houses are made from simple scraps and can be built in about an hour. The best part? You can create as many as you want and build an entire town! These are also excellent gifts for friends and relatives.
Step One: Gather Materials
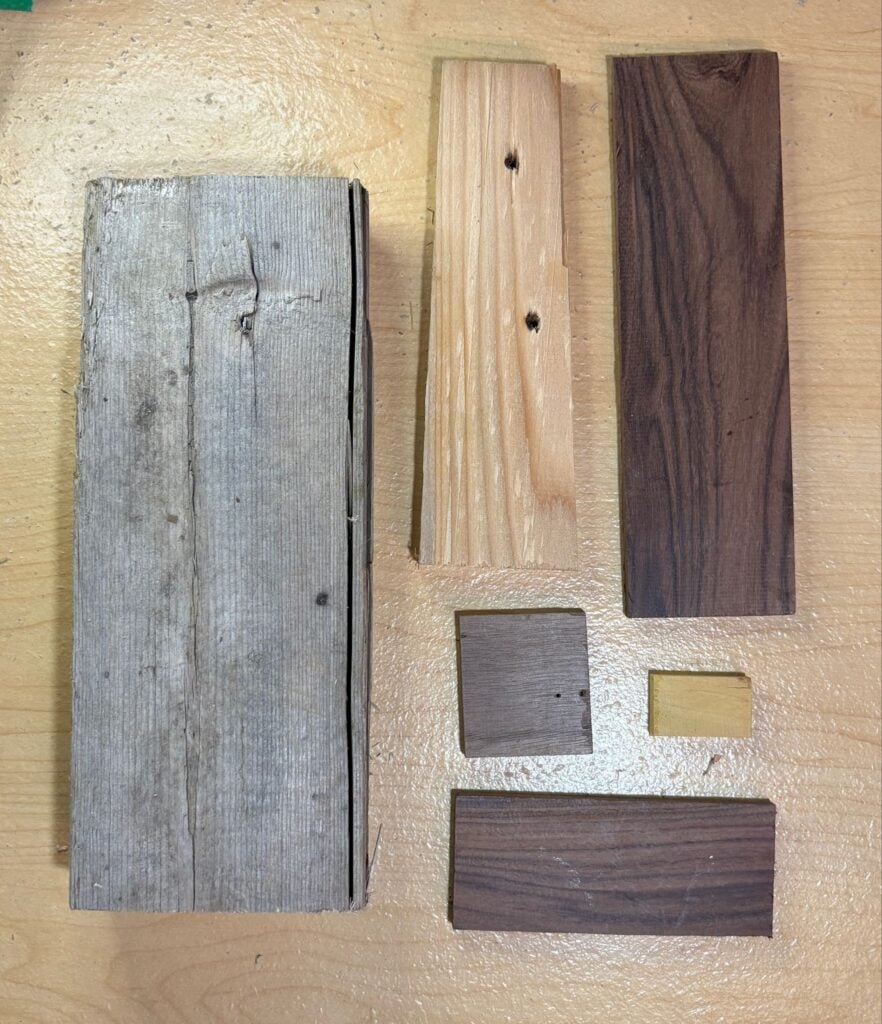
While you can use just about any wood for these, I’ve gathered an old 2×4, a piece of broken cedar about ¾ of an inch for the base, and some ¼ in off off-cuts for the roof, door, and window.
Step Two: Make Your Cuts
The first cut is to the 2×4. I like to cut these down to a square, but any size or shape will do.
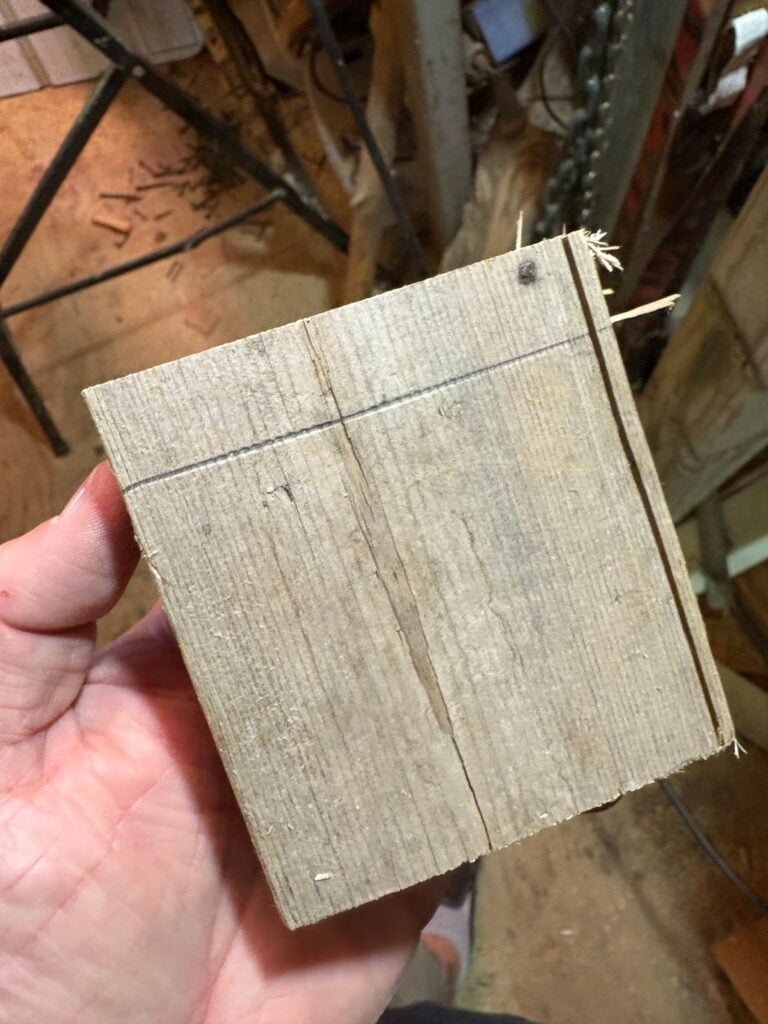
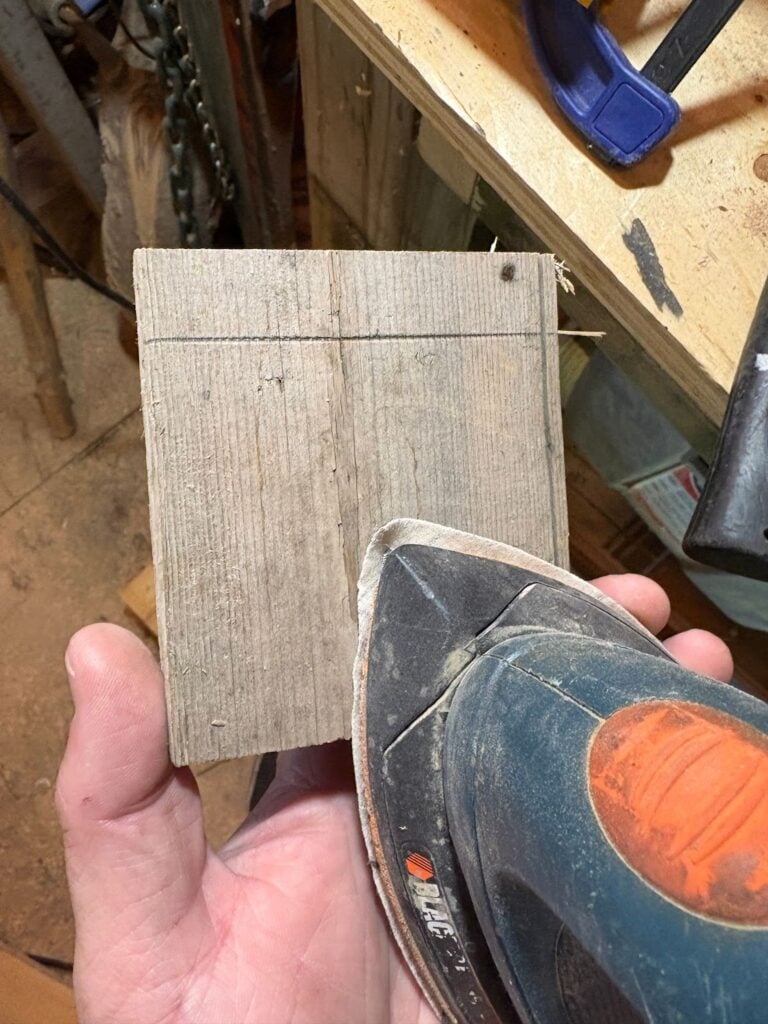
I didn’t like the big crack along the side of this, so I cut that off as well. This is also a good time to do any sanding and remove any little slivers that might get into little fingers.
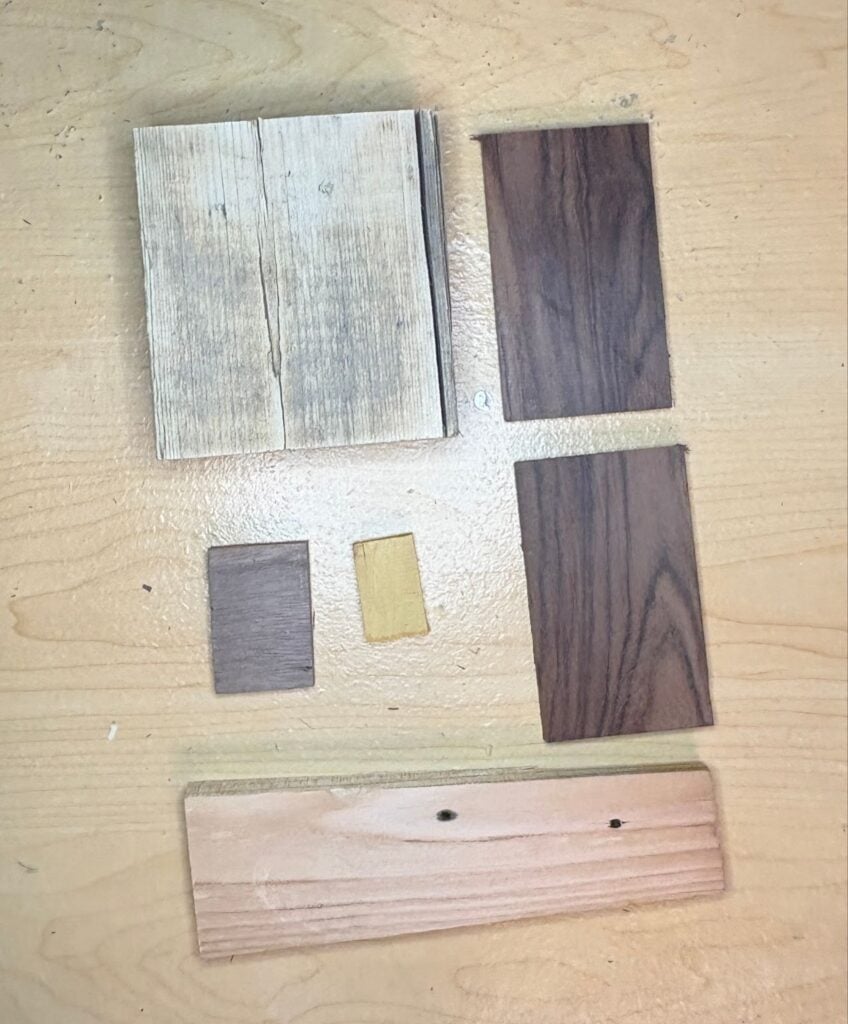
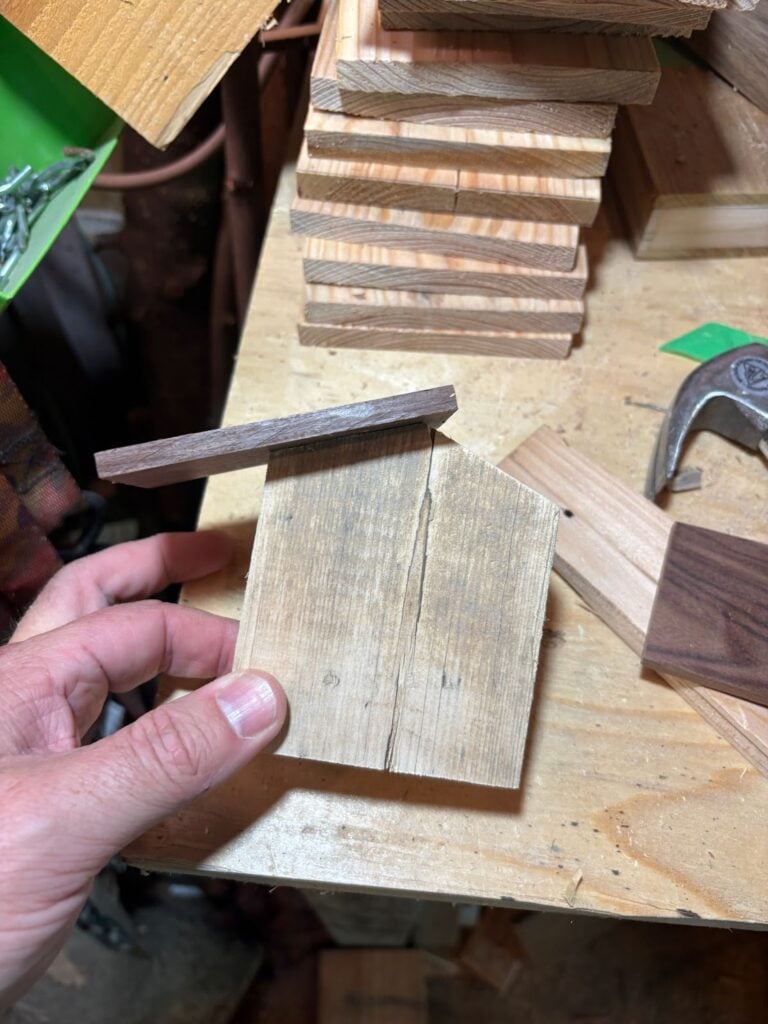
Next, cut your roof piece in half and square up your door(s) and window(s). You can leave the base or square it up as well, but you should have a pile of materials that look similar to this:
Step Three: The Roof
The roof is the most “complicated” part of the project, and, as with all cuts, you may want to do these before getting the kids involved if you’re using a miter or circular saw. That said, a hand saw and/or miter box is a great way to get the kids cutting the wood with minimal risk.
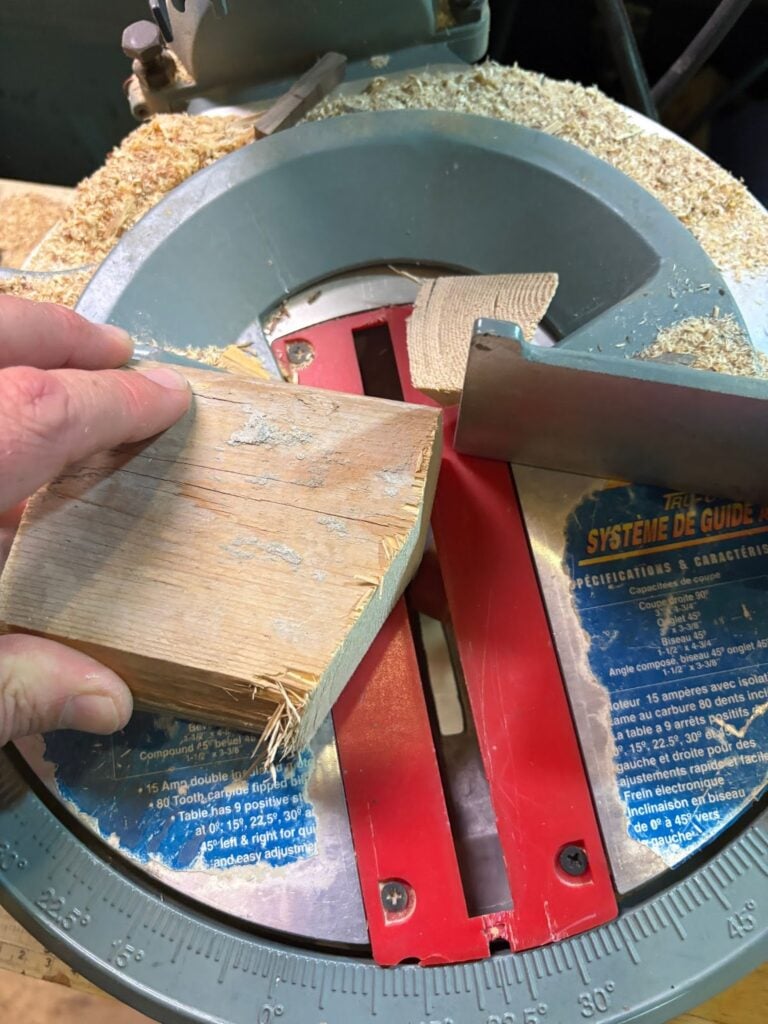
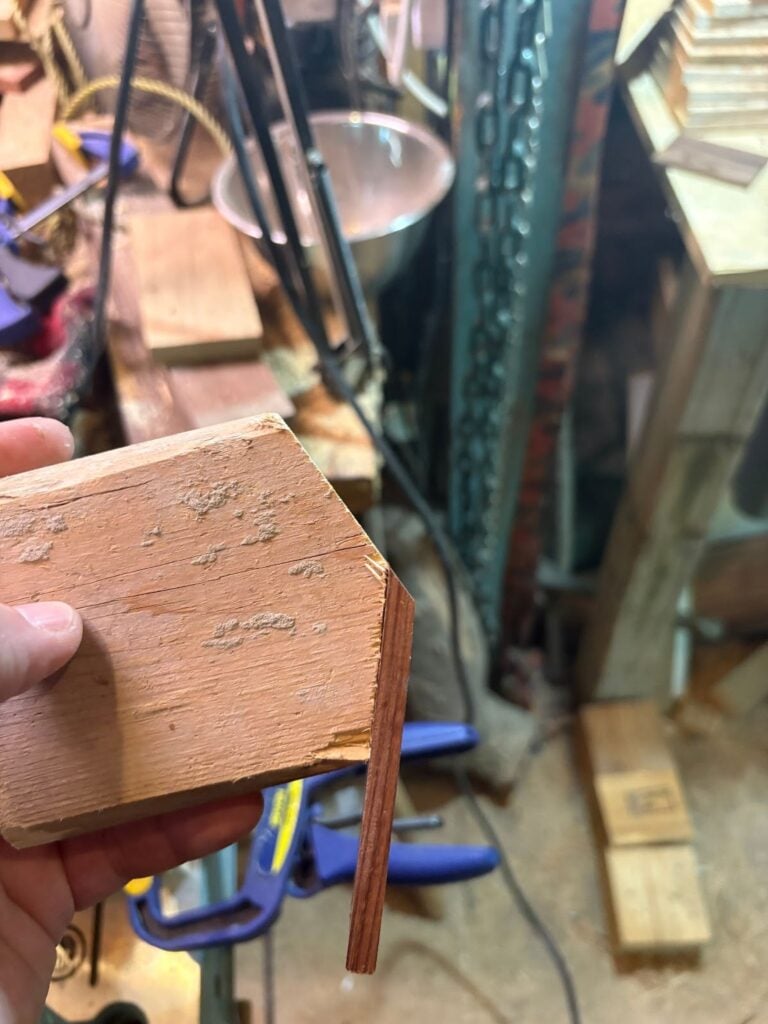
First thing, cut the 2×4 at the desired angle. I chose 20 degrees for mine, but it can be whatever you like.
Next take one half of your roof pieces and glue it to one of the sides that you just cut. I cheated here and added a couple of brad nails for speed, but glue works just fine on its own if you let it cure for about half an hour.
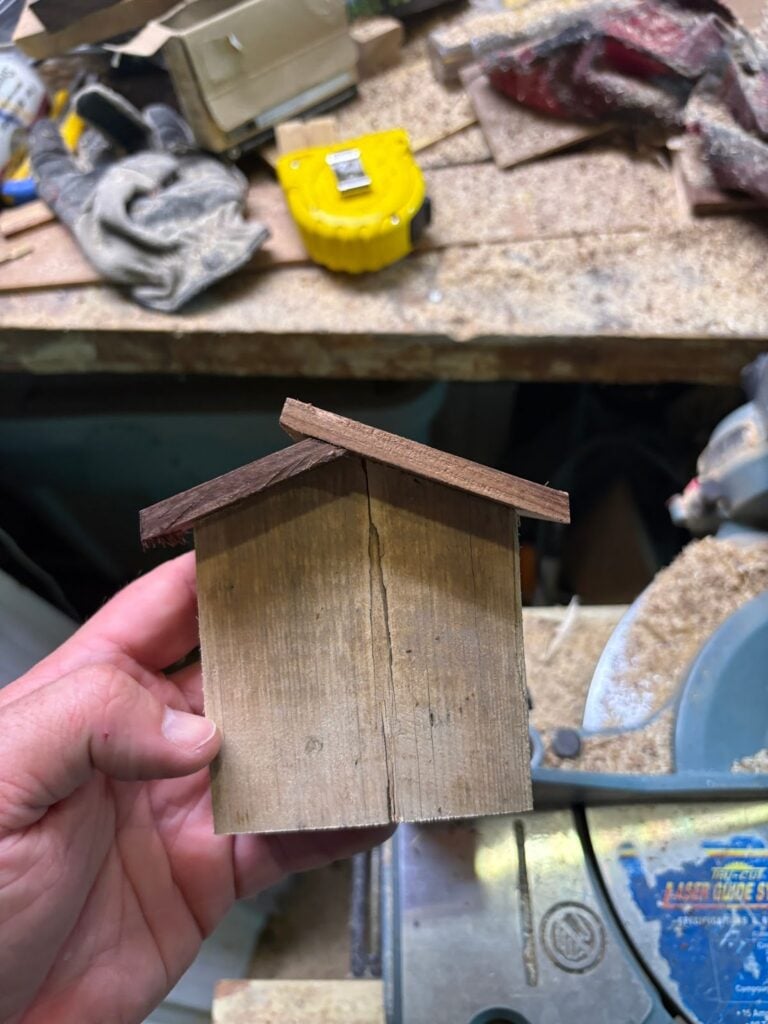
This part can be done if you’re a perfectionist like me, but it’s not entirely necessary. Take your 2×4 with a half-roof, and use the saw to cut the roof piece flush with the top of the block.
Otherwise, you can simply attach the second roof piece in the same manner and then trim the overhang to the desired length.
Step four: The Base
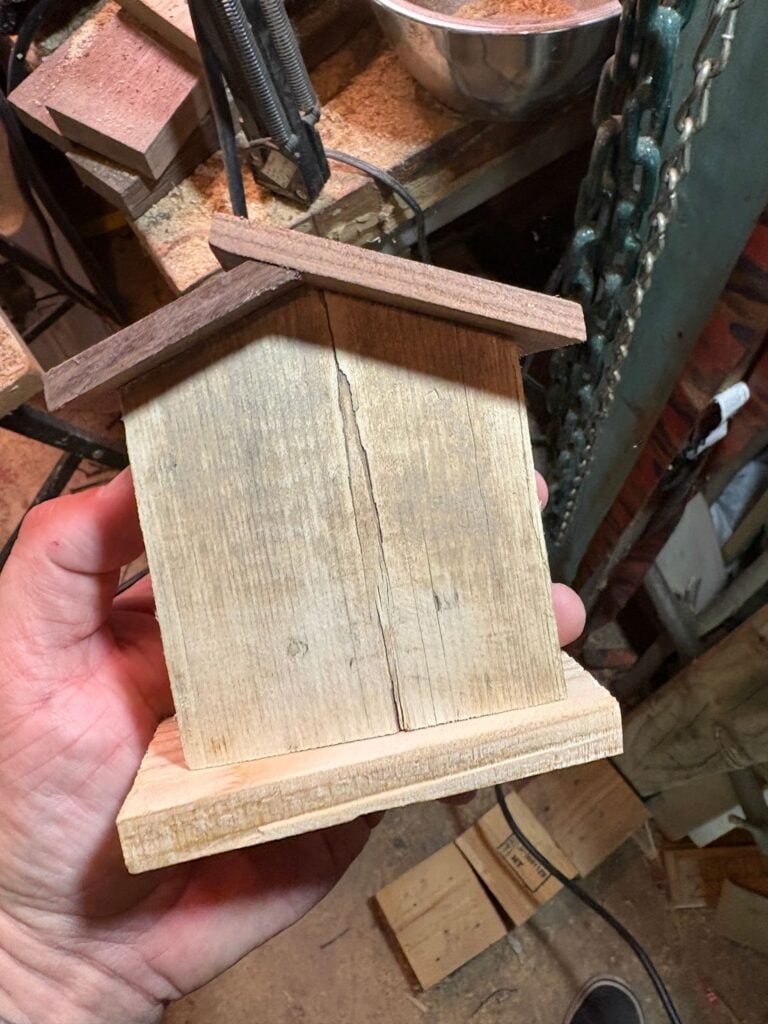
The base is the easiest part. You slap it on the bottom with some glue and away you go!
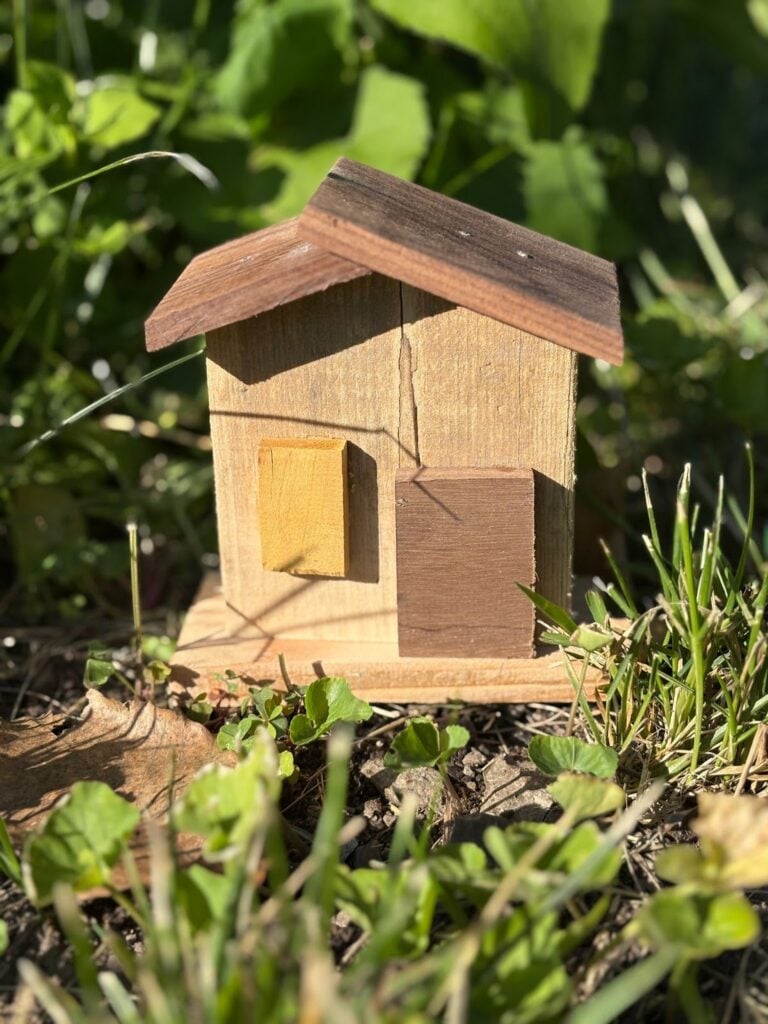
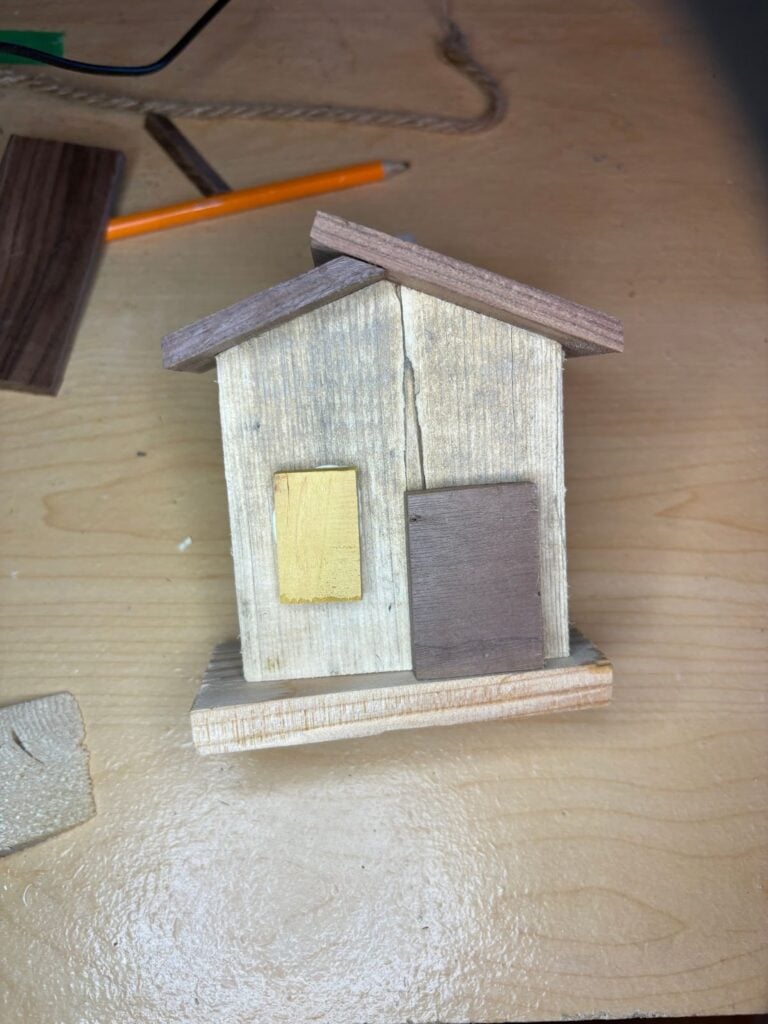
Step Five: Doors and Windows
You can choose to add your door(s) and window(s) here by simply gluing them onto the front. Sometimes it’s easier to paint the house first, then apply the doors and windows, but that’s up to you.
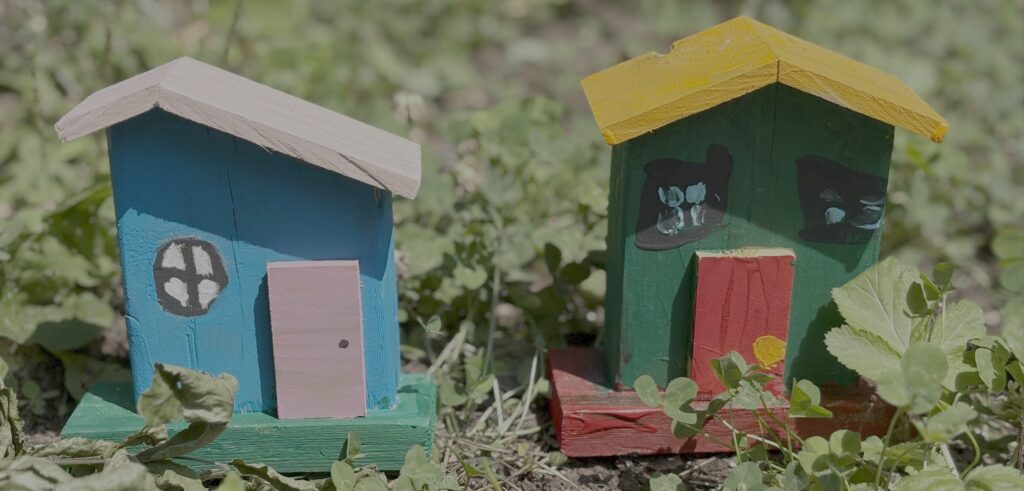
Step Six: Paint!
And now your house is ready for paint! Let the kids go crazy, and you can even add tufts of grass or other landscaping bits if your base is big enough.