At some point, every kid is going to be scared of the dark. I know my kids slept with multiple nightlights until they were almost double digits in age. There are many great nightlights available, but I felt that creating a nightlight with them would give them a little more ownership over the dark. The thing that was pushing back against the dark was something they had made, giving them a bit more power over the scary nighttime hours.
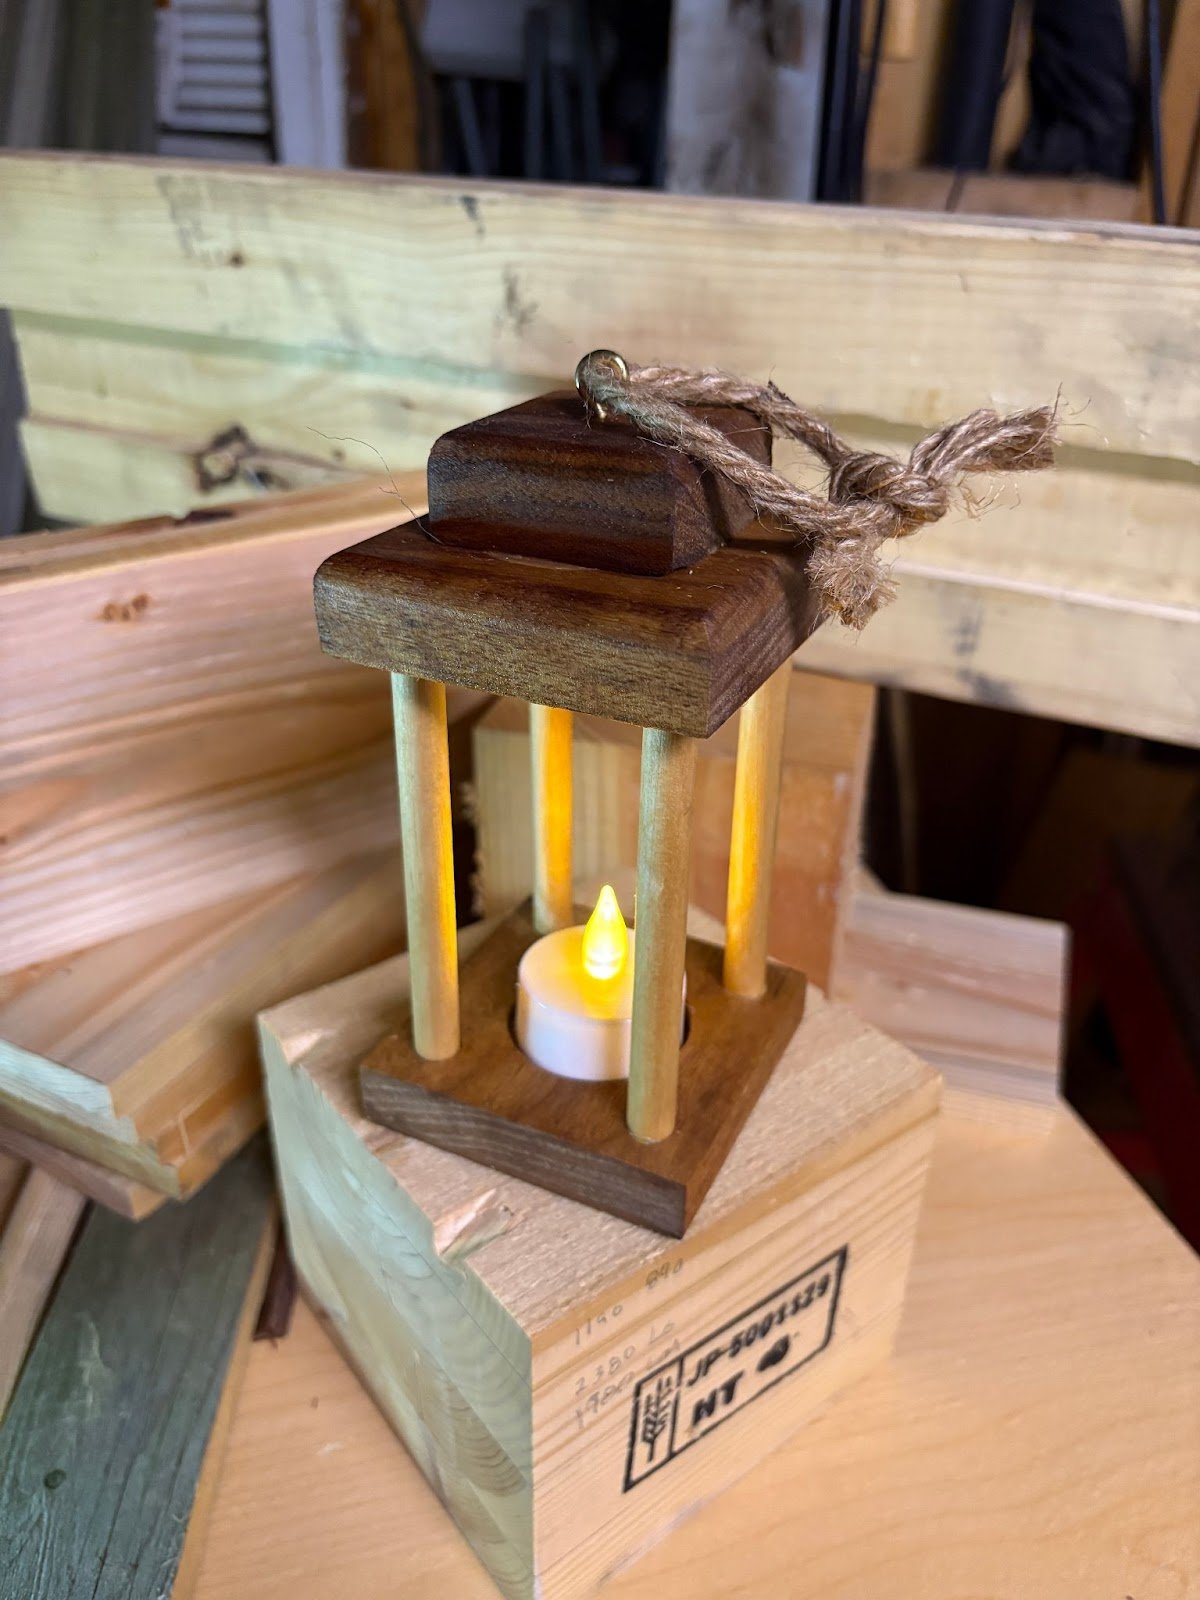
In the end, I came up with this Tea Lantern that is not only a great defense against the darkness, but it’s simple to put together and looks pretty good as decoration to adults as well. I’ve always loved lanterns, and this one is something that a kid can build and take with them into adulthood to remind them that there’s always a light when things get too scary.
Just a heads up: This project involves power tools, so grown-ups may want to handle the drilling and cutting, and let the kids help in the other areas.
Step One: Assemble The Materials
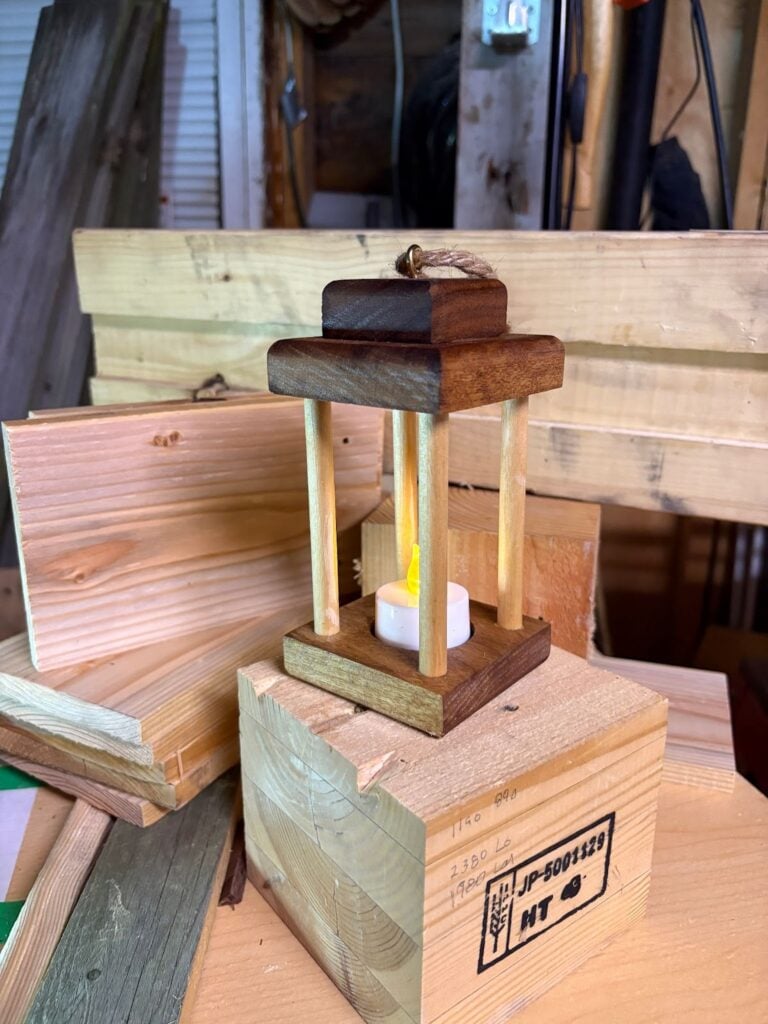
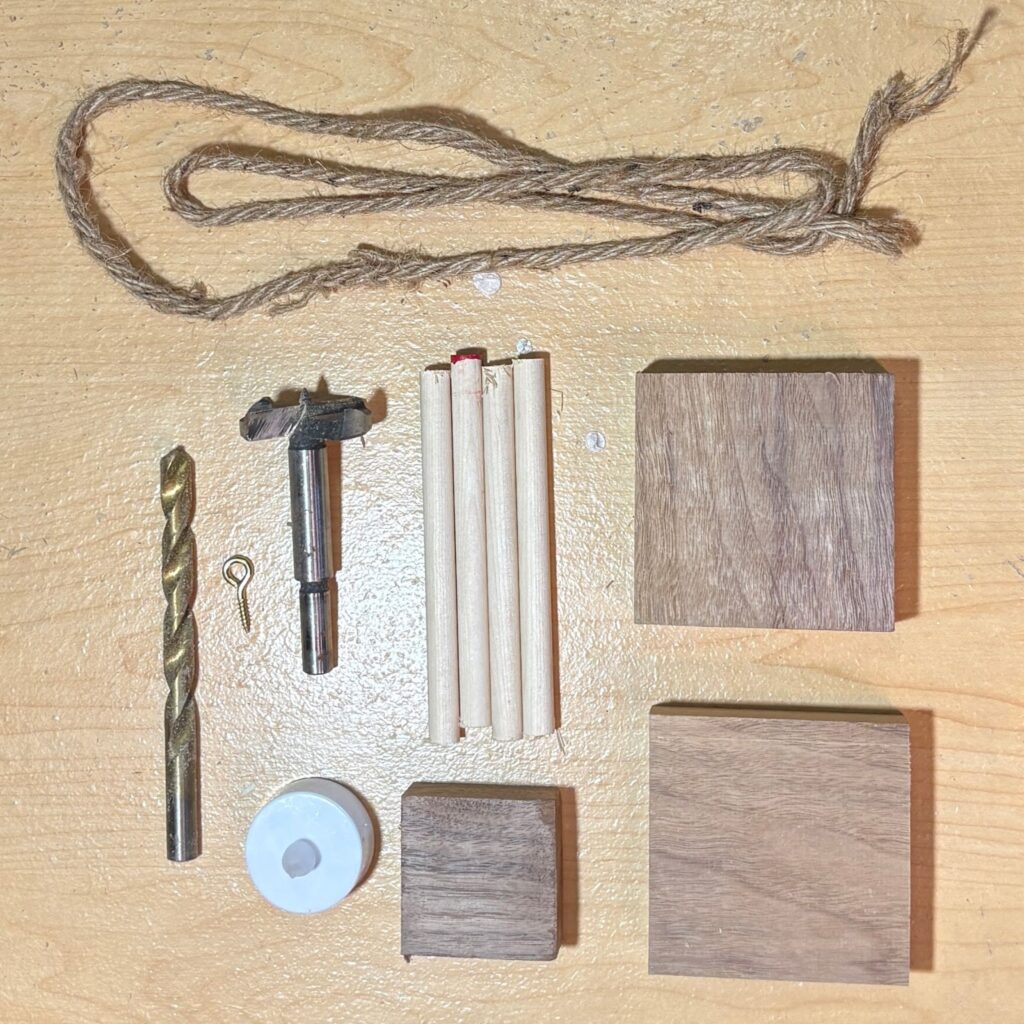
Cut two squares of wood about 1 inch thick. You can use any wood (I’ve used walnut here) in any shape, but a square works best. Mine are about 4 inches square, with a smaller one about 2.5 inches square. The dowels are cut to six inches. The rope is dollar store rope, and the metal ring can be found in any hardware store.
Step Two: Drill Your Holes
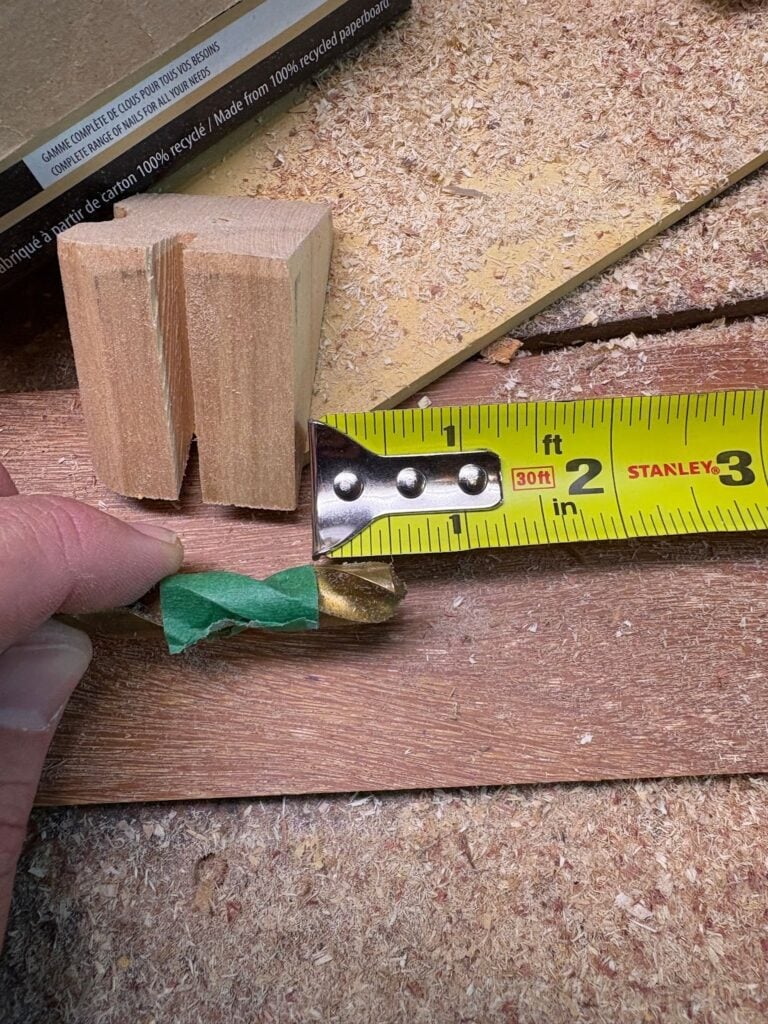
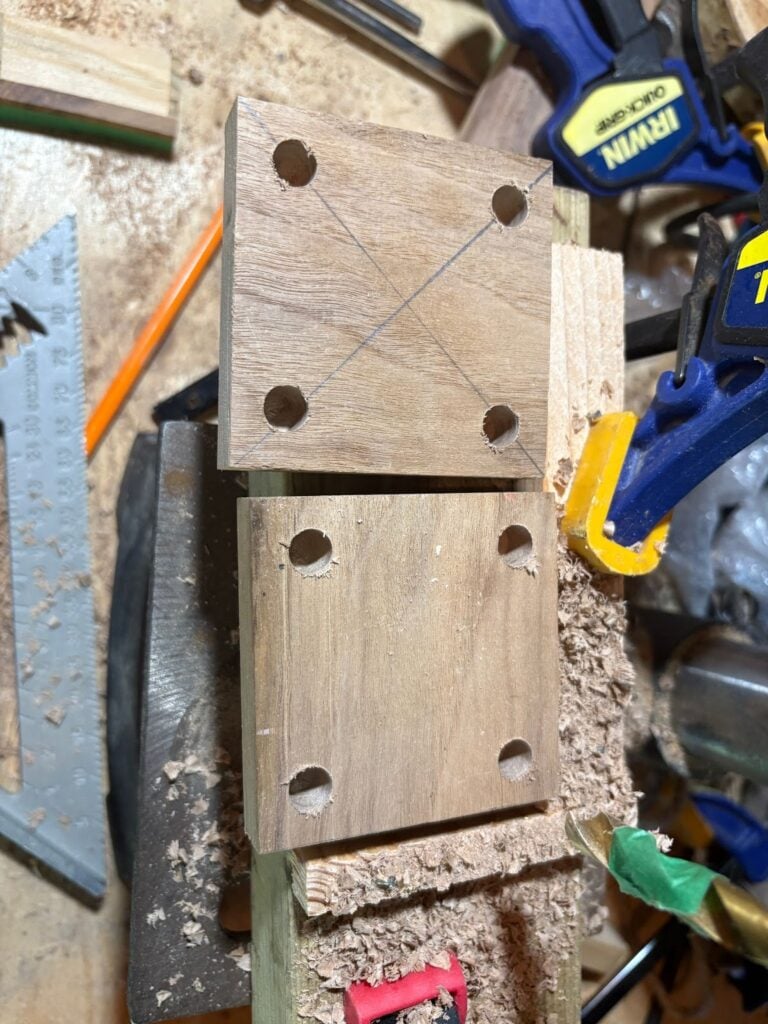
For the lantern, we will need to drill 8 holes, 4 in each of the top and bottom pieces. We must drill them at a uniform depth (about half an inch in this case. A good tip when drilling multiple holes that need to be the same depth is to mark the depth with a piece of tape, giving yourself a limit on how deep you want to go.
Be sure and use a drill bit the same size as your dowels!
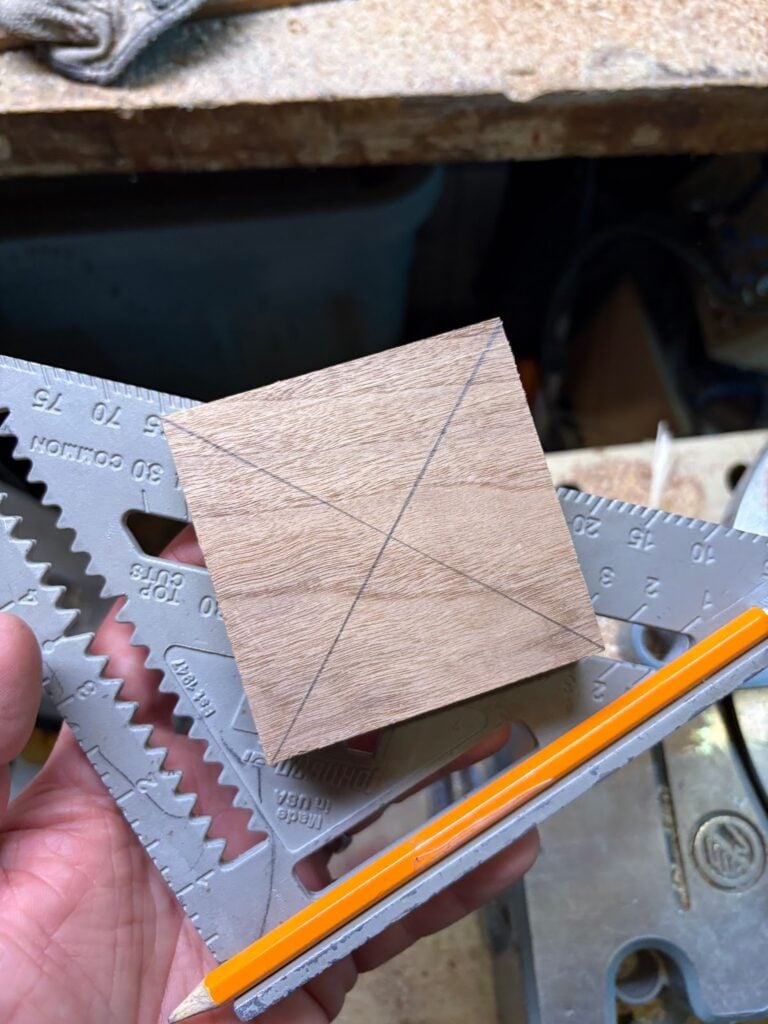
Next, find the center of the piece and then mark about a half-inch from the corner on each line.
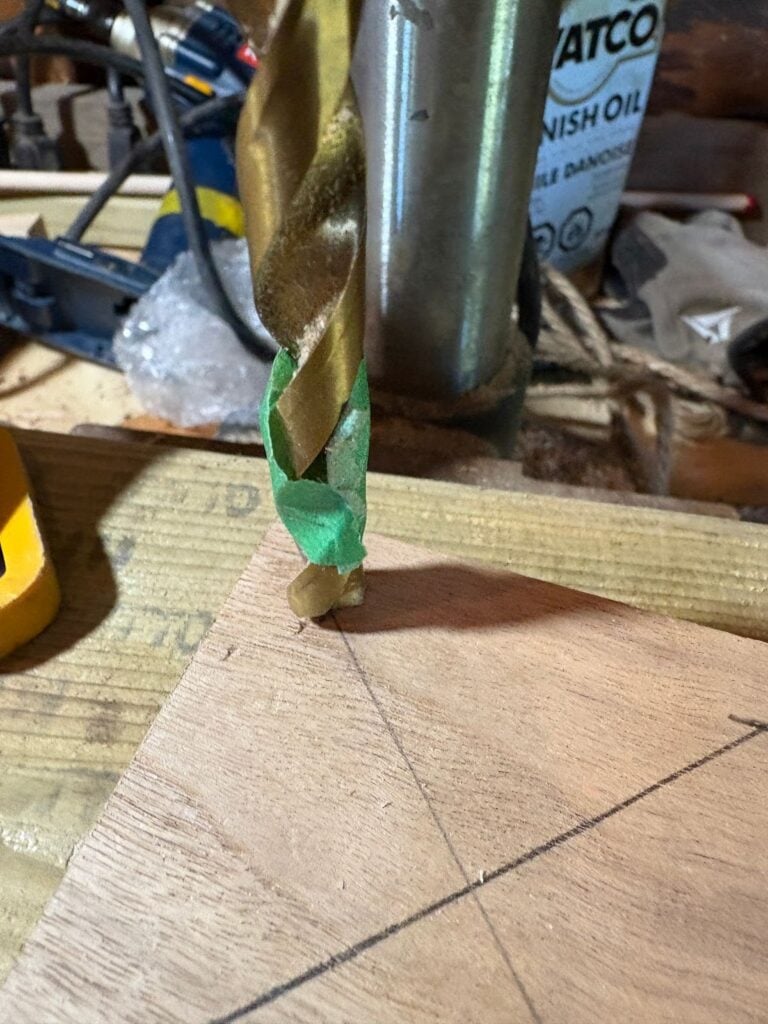
Drill four holes in the top piece and four holes in the bottom piece to the marked depth.
Step Three: The Tea Light
Tea lights can be purchased very cheaply almost anywhere. I’m using a battery-powered one here, but remote-controlled and fancy ones are available too.
Using the “X” you marked on the bottom piece, find the center and, using a speed bore or Forstner bit, create a small, 1/8-inch recessed area at the center of the X.

If you don’t have access to the bits mentioned above, don’t worry; this gives the tea light somewhere to sit so it doesn’t fall out when the lantern is handled. You can achieve the same result using tape or glue.
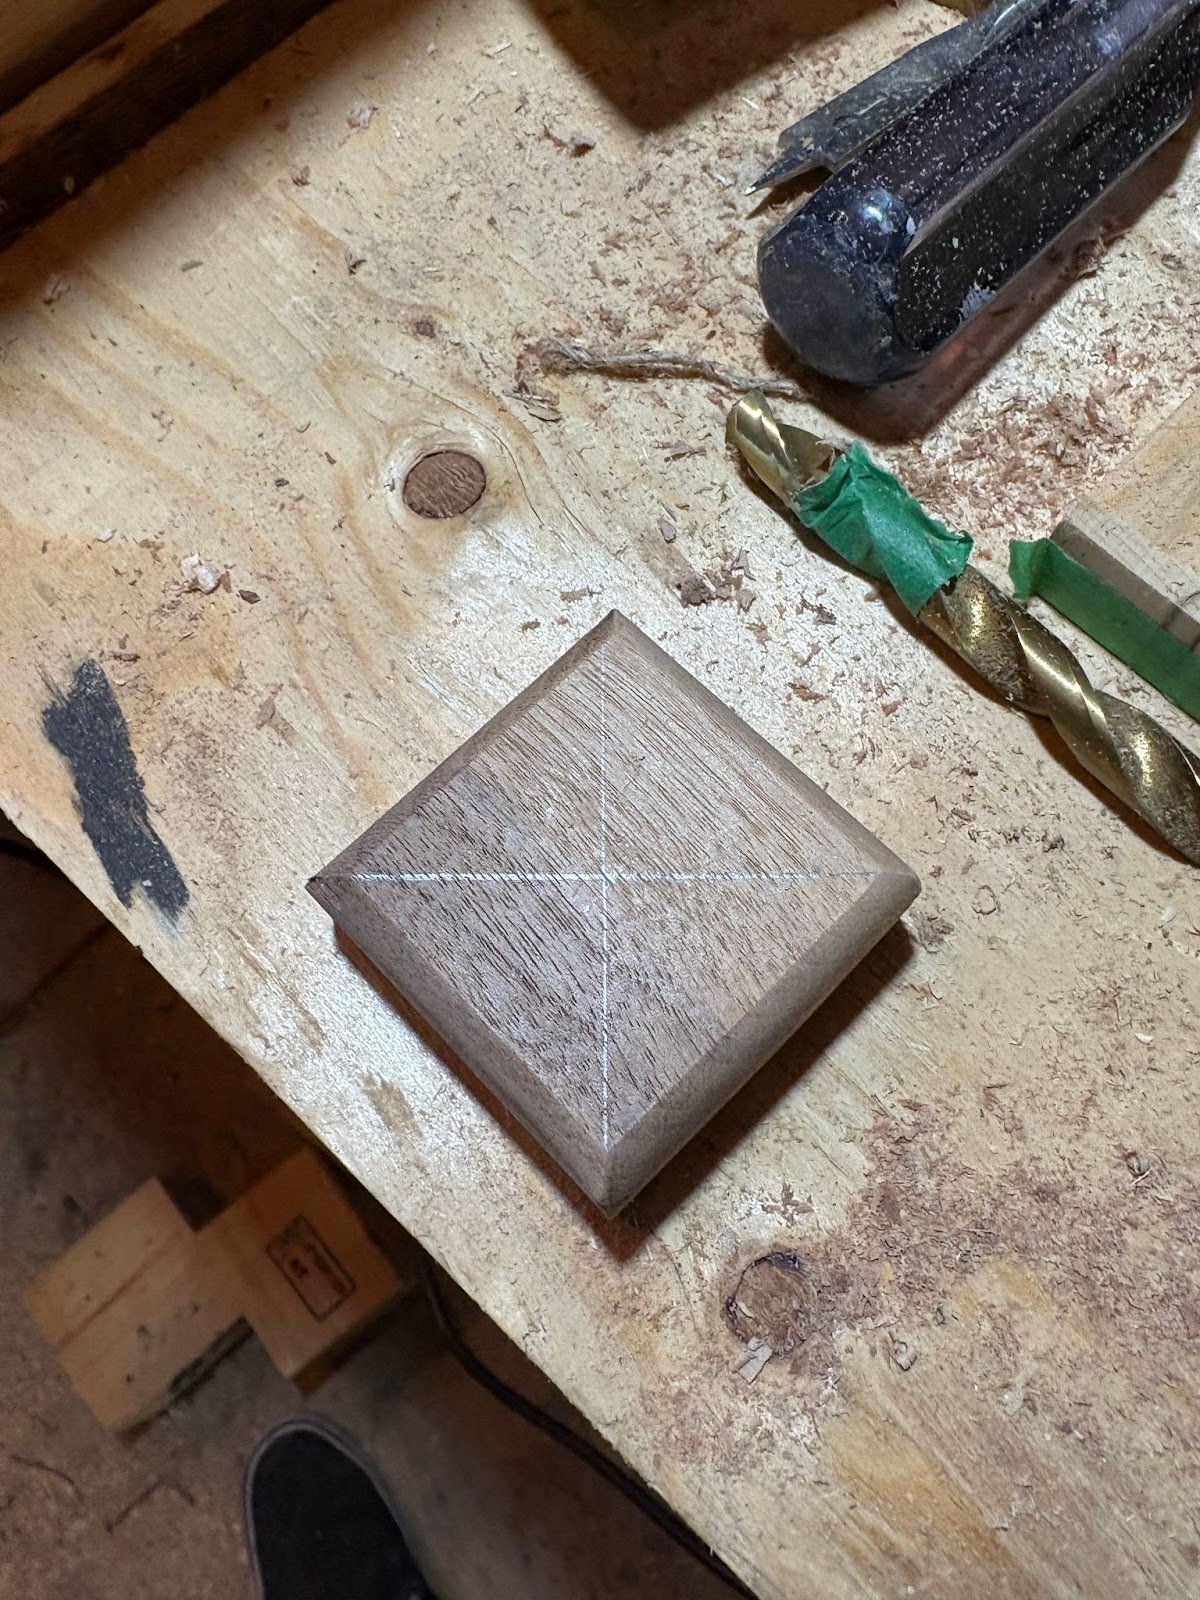
Step Four: The Top Bit
Take the smallest square you cut and find the center the same way you did the bottom piece. You may notice I’ve routered over the edges on my pieces, but this is just a decorative step, and you don’t need to do that.
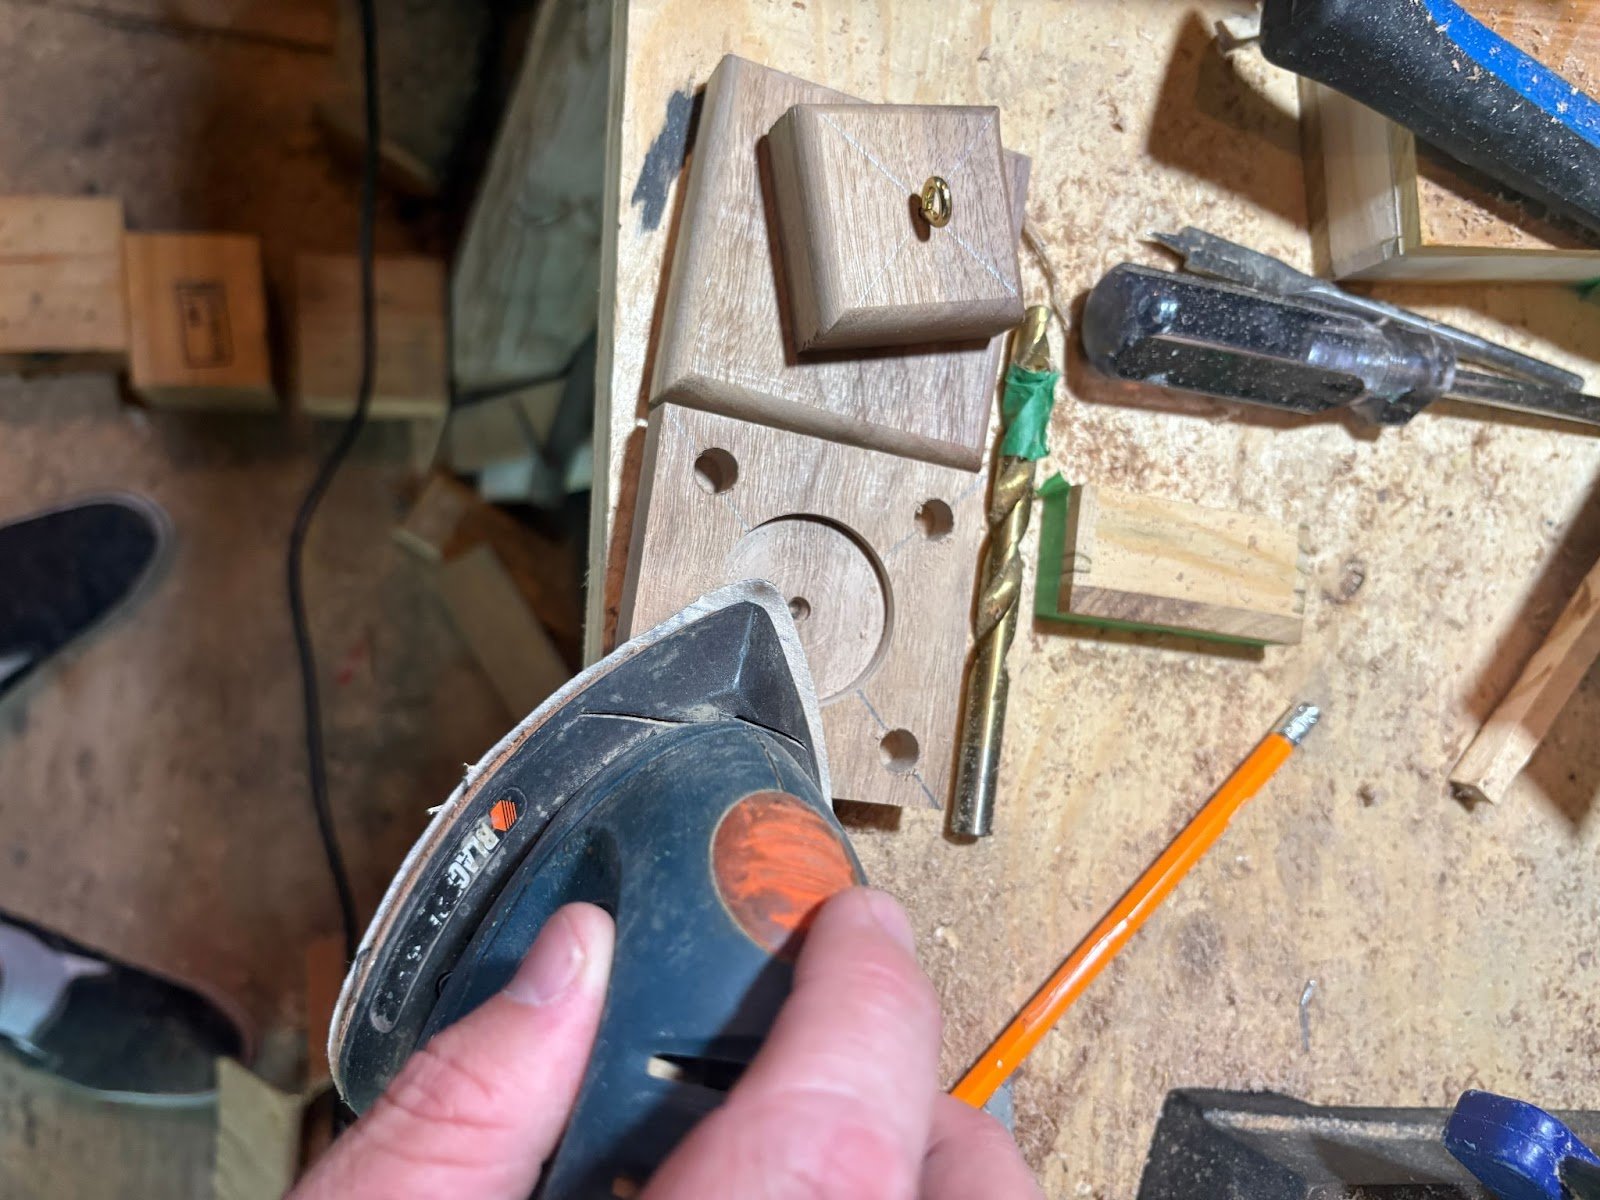
Once you’ve found the center drill about 1/8th of an inch in and screw in the metal o-ring.

Step Five: Sanding
Using your preferred method of sanding, smooth out the three squares. Pay close attention to the edges and sand away any little splinters or pencil marks. Be sure to give the dowels a
(Also, unless you’re like me and do things the hard way, you can do the sanding before you put the metal ring into the small piece if you don’t want to sand around it).
Step Six: The Posts
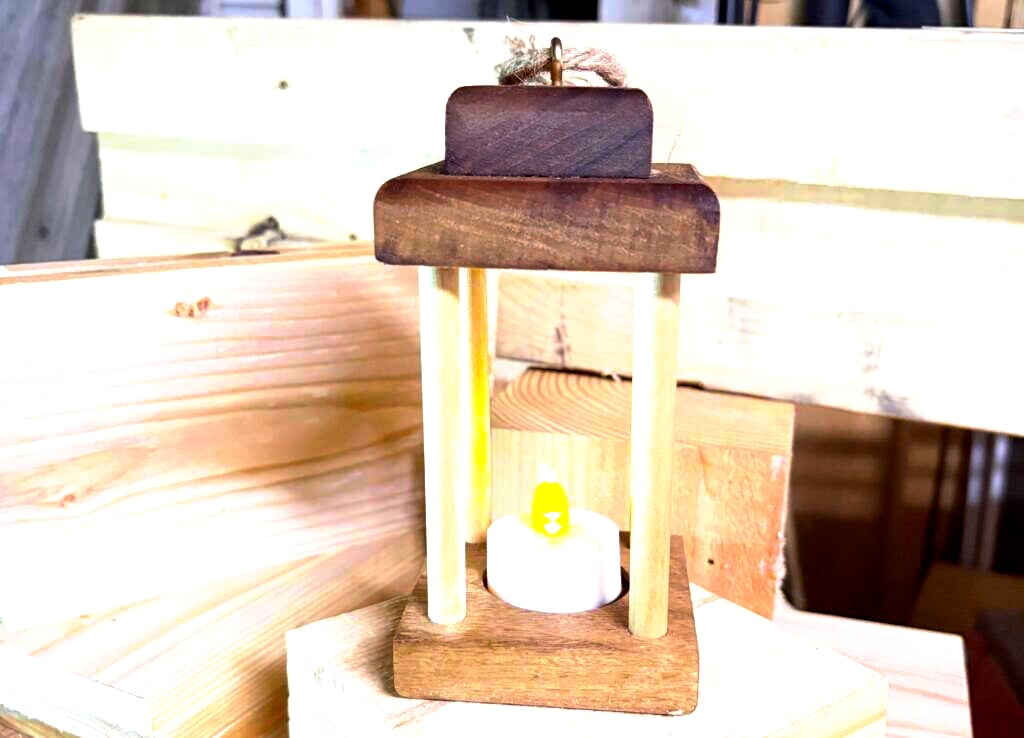
Using wood glue, set the 6-inch dowels into the holes in the bottom piece.
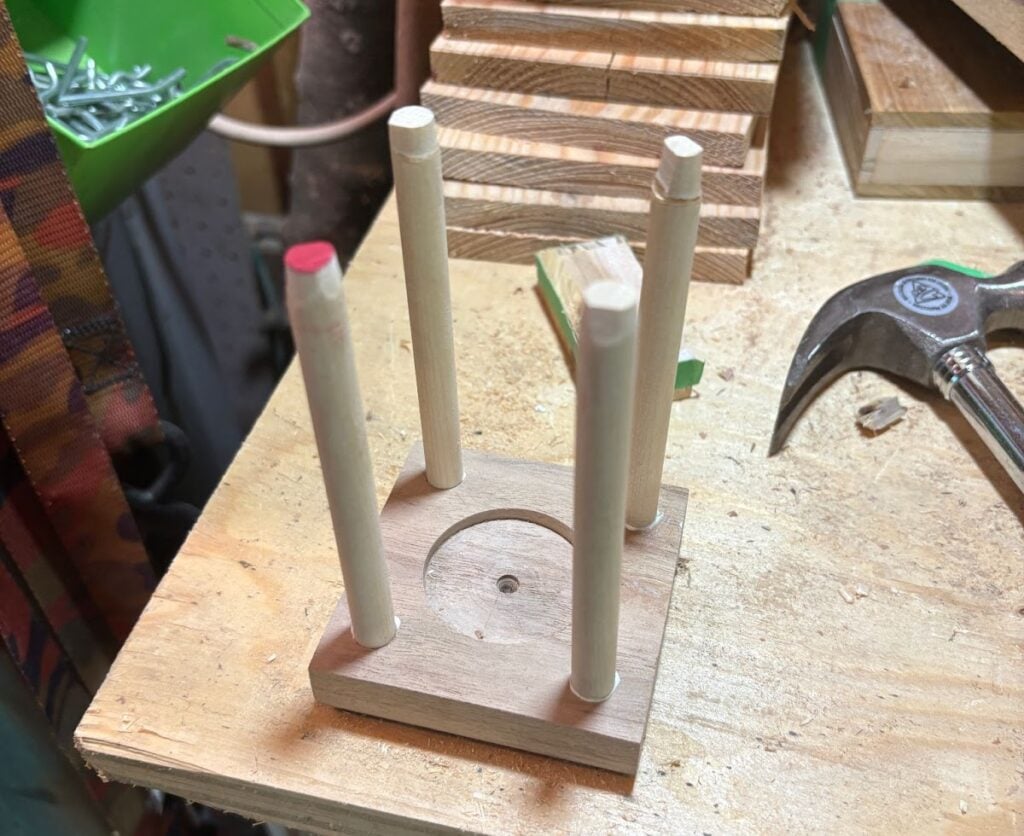
Then repeat with the top piece.

Next, place the smallest square with the ring on top of the center piece, aligning it.
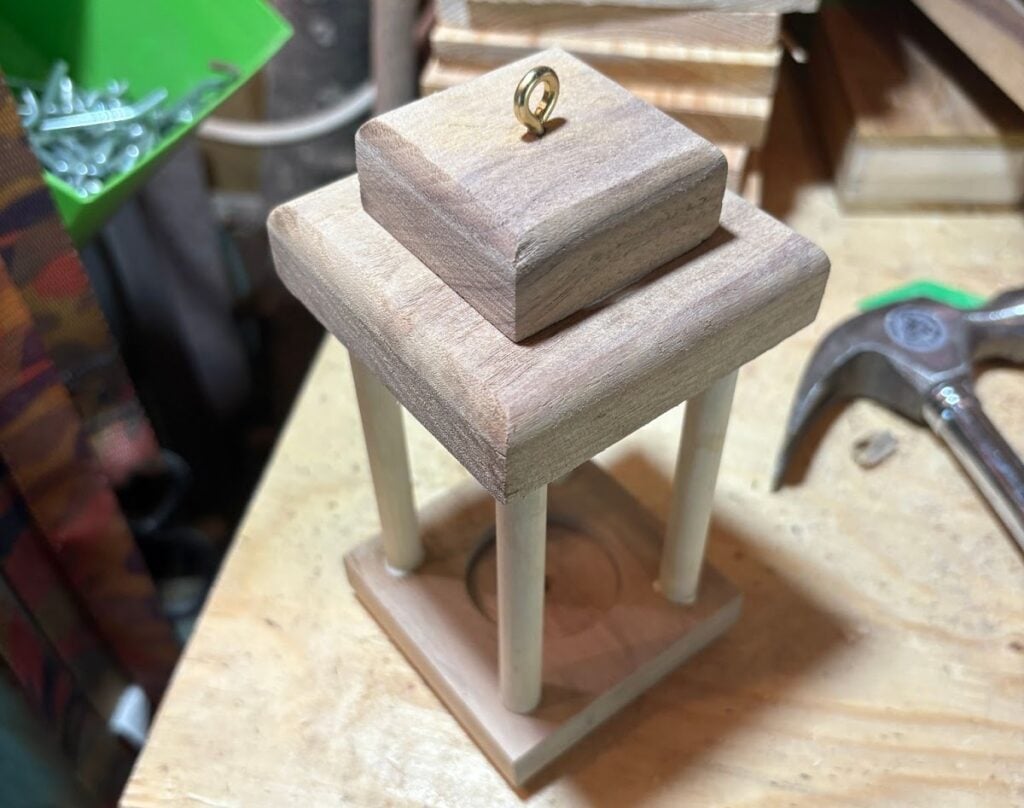
Once everything is squared up, use whatever clamps you have to lock everything in position for the glue to dry.. Wipe away any excess glue and let it sit for a few hours.

Step Seven: The Finish
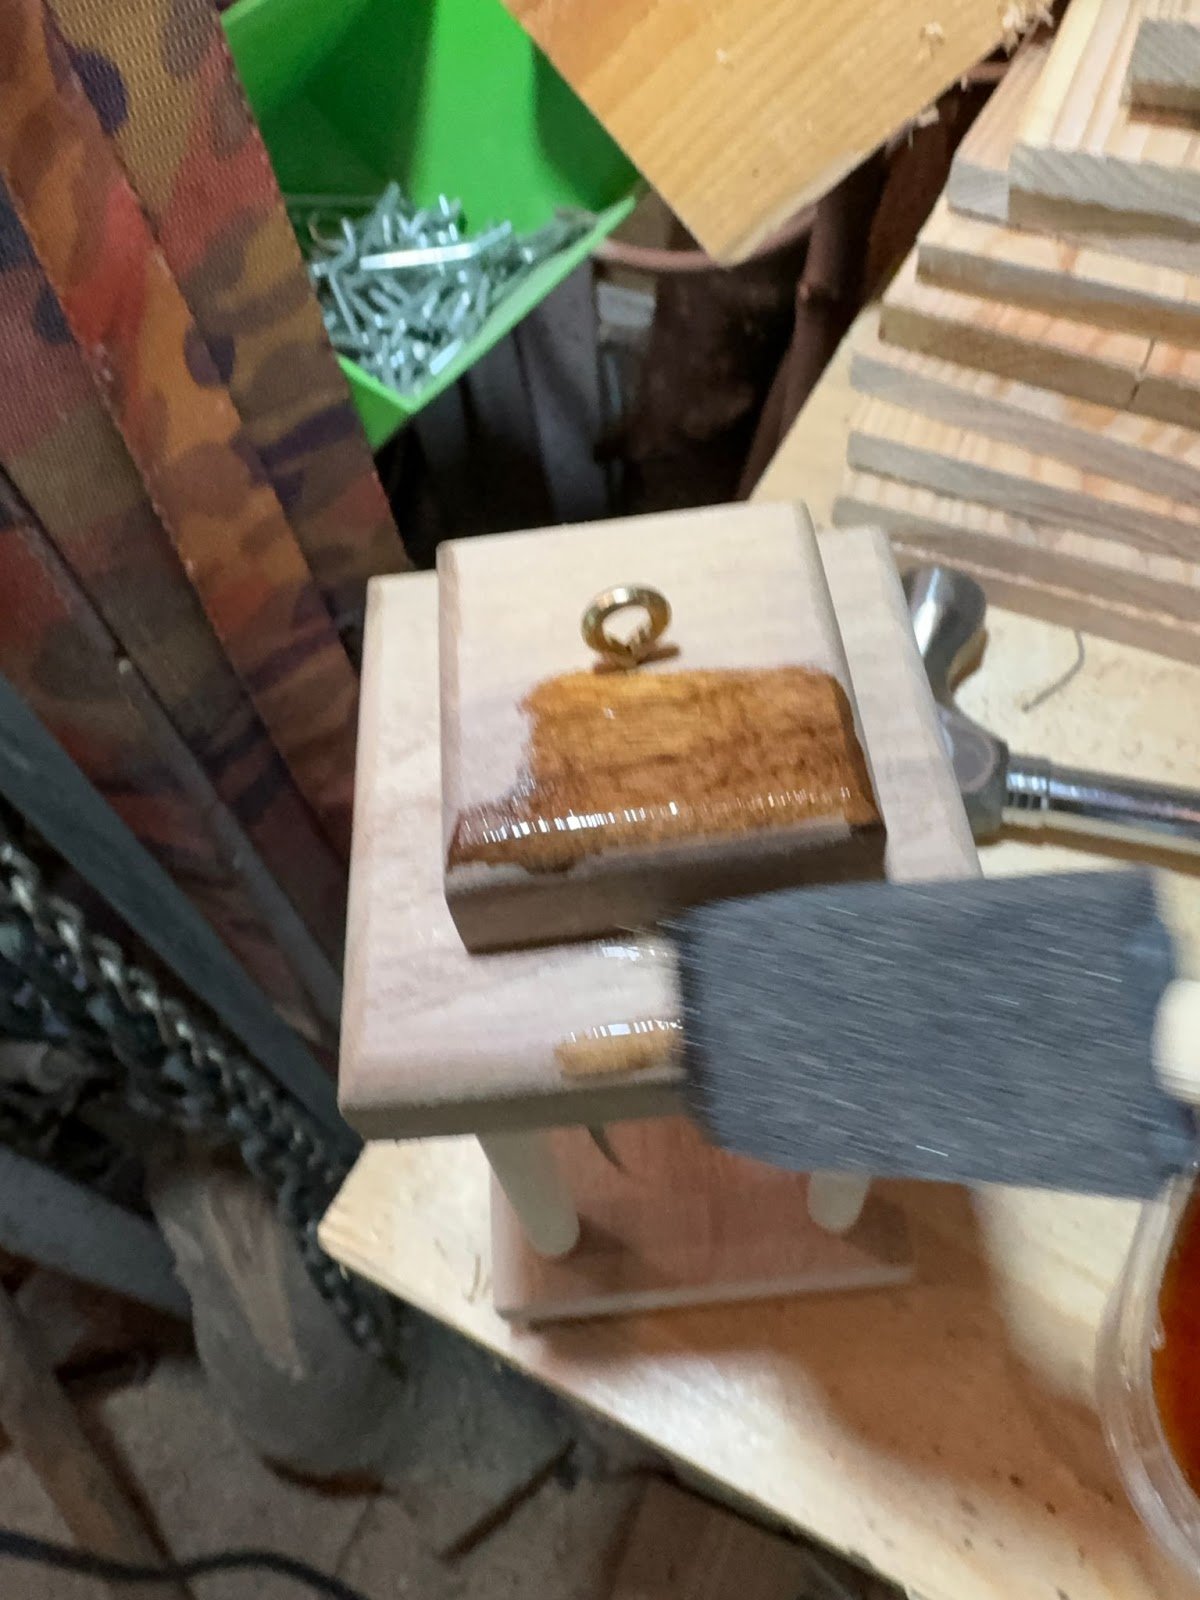
On most of my wood projects, I like to apply a coat of Danish Oil to everything. It’s cheap, non-toxic and brings out the grain of the wood.
Step Eight: The Rope
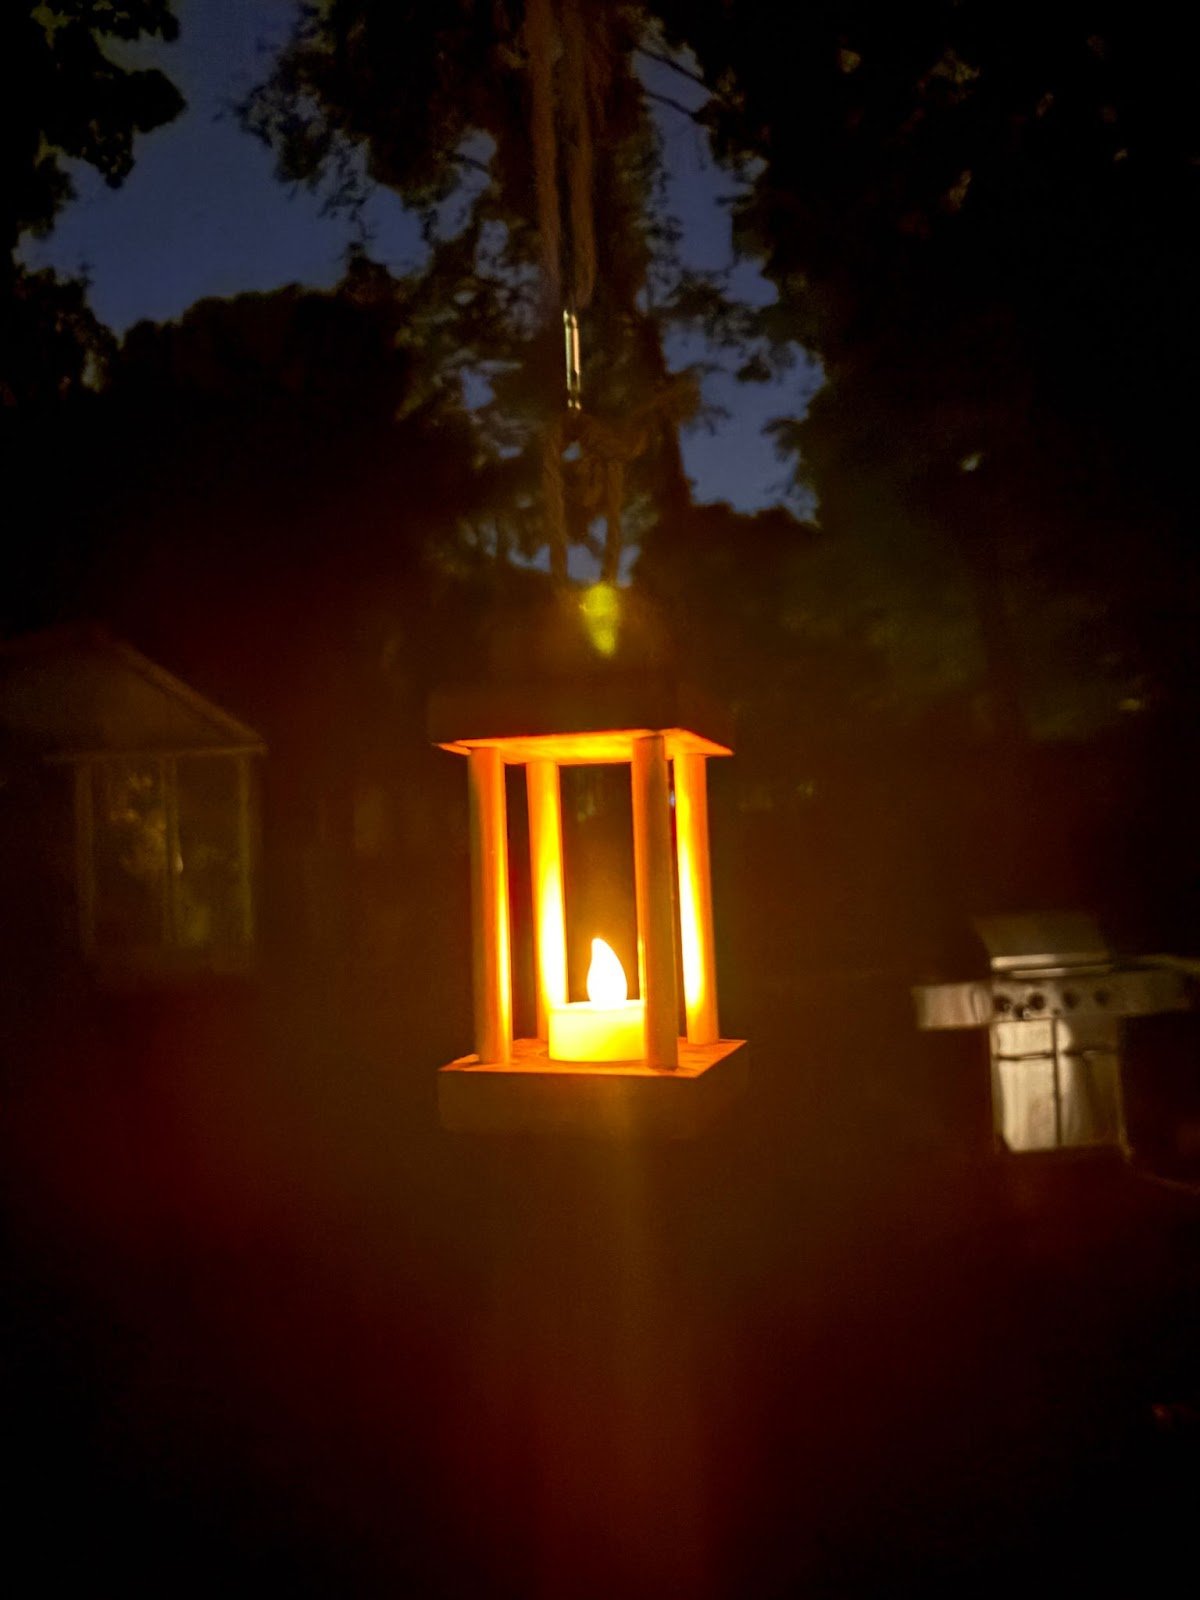
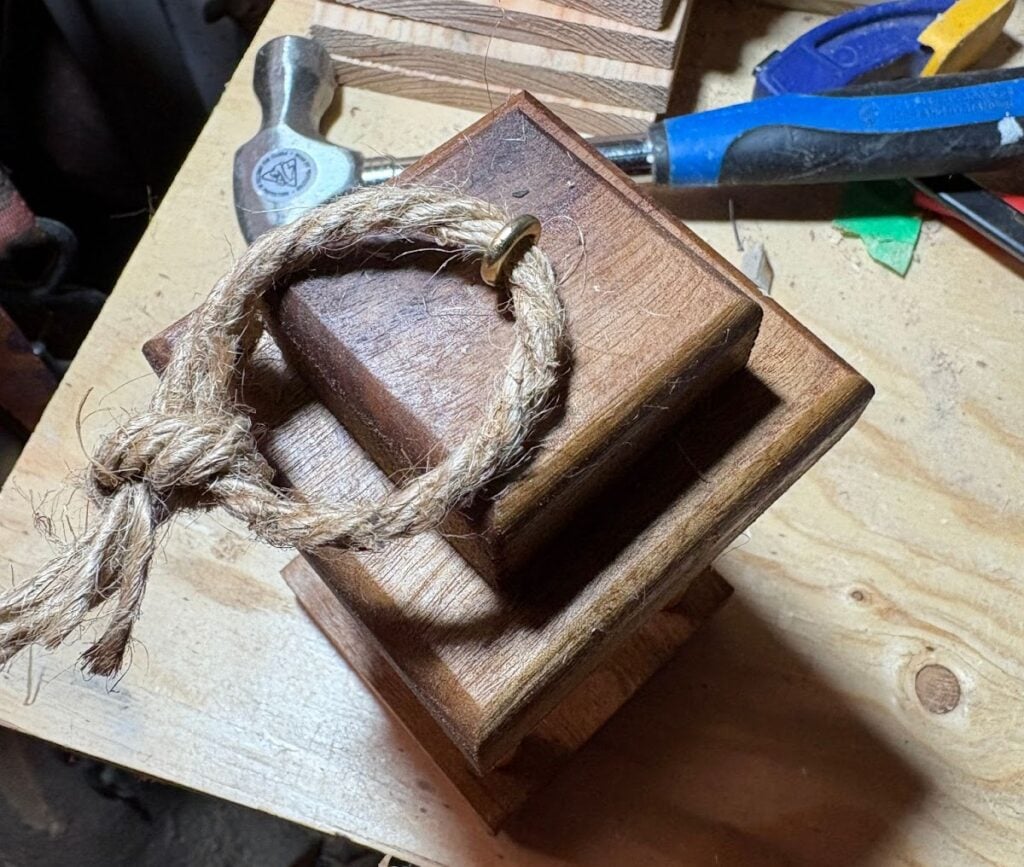
Finally, take a piece of decorative rope, of any length you like, and tie it through the ring at the top. This will act as the “handle” or hanger for the lantern.
Once the oil has seeped in and dried, you’re all set! A lantern for the darkest night, or the most stylish patio!