October is officially underway, which means it’s the Spooky Season! While anxiously awaiting some trick-or-treat fun, the kids and I love getting into the workshop and creating all kinds of creepy-cute decorations to cover the house.
This Ghostie plan has become a favourite as it’s simple to do, with minimal tools involved, and each kid can make a Ghostie or three that are unique and represent their scary talents as Halloween’s go by.
Here’s how to set up and make a Ghostie of your own out of some scrap wood, glue, and paint. The best part is that this plan works for just about any size wood and will create a decoration that will make Halloween fun for years to come!
Gather Your Materials
Making this Ghost is a pretty simple project, but you’re still going to need a few things. Some clamps, glue, a good ruler or straight edge to make lines, and a band, hand, or jigsaw (I went with the latter).
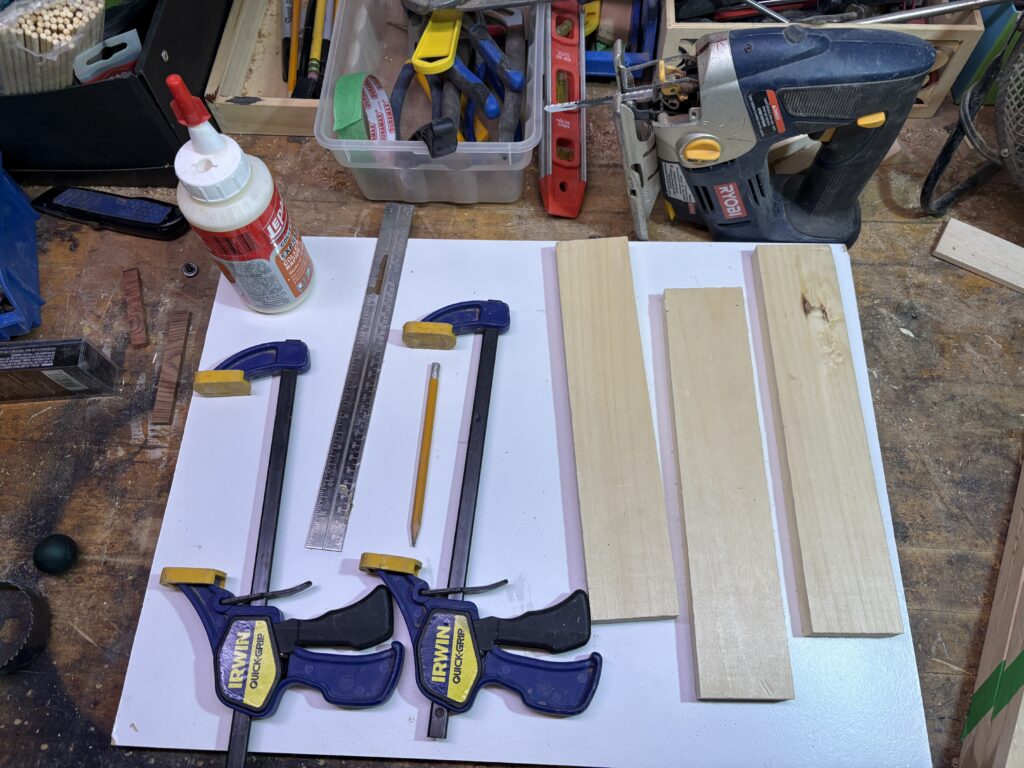
Your wood can be anything you’ve got lying around, as long as they are in decent shape and the same size. I’m using pine that’s about 12 inches long, by 3 inches wide, and 1 inch thick.
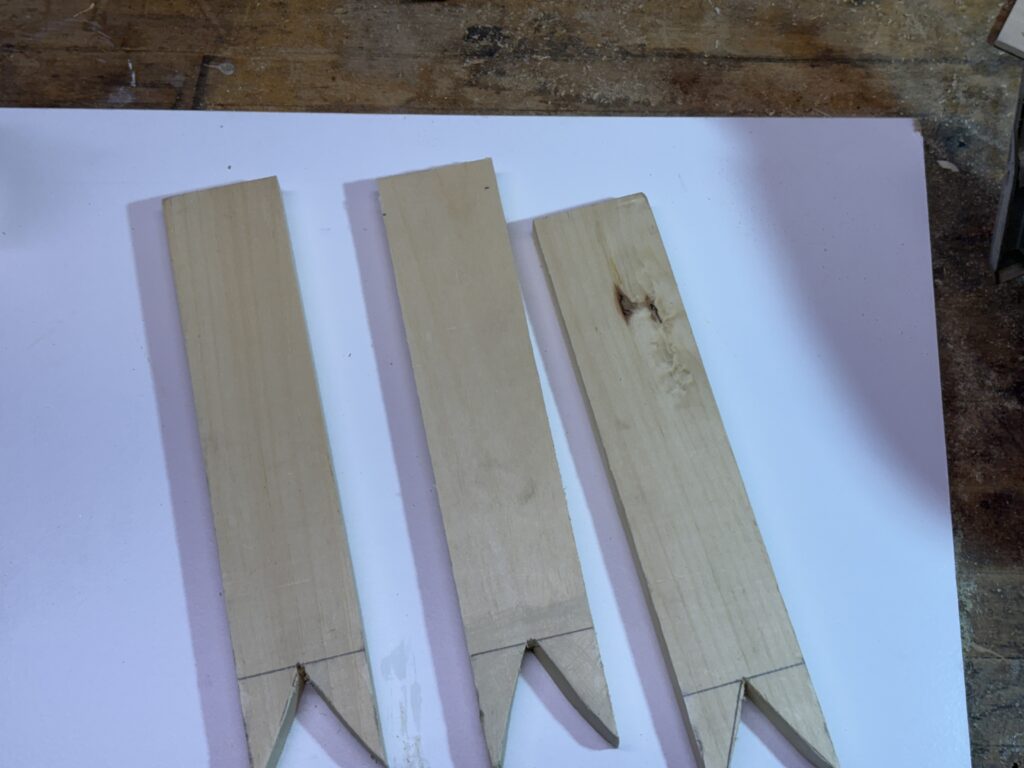
Step One: Make Your Marks
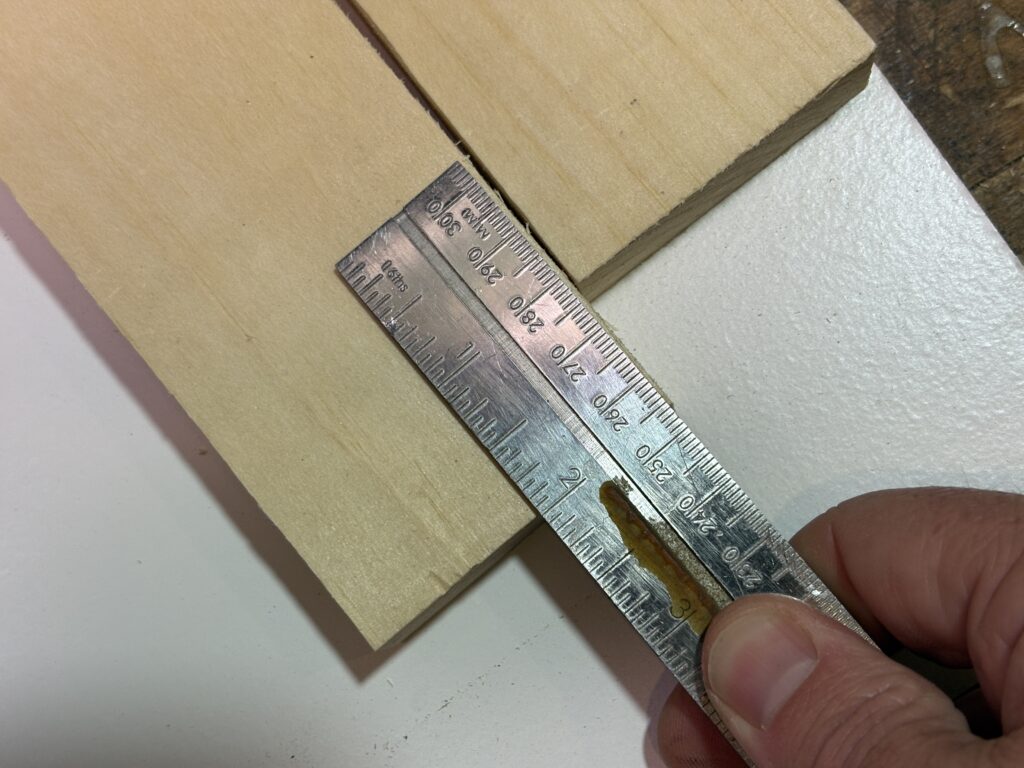
The first thing we need to do is draw in the “tatter” at the Ghost’s base. Draw a line across at about two inches.
Then, find the center and draw two angled lines from that mark to the edge of the piece. It should look like this:
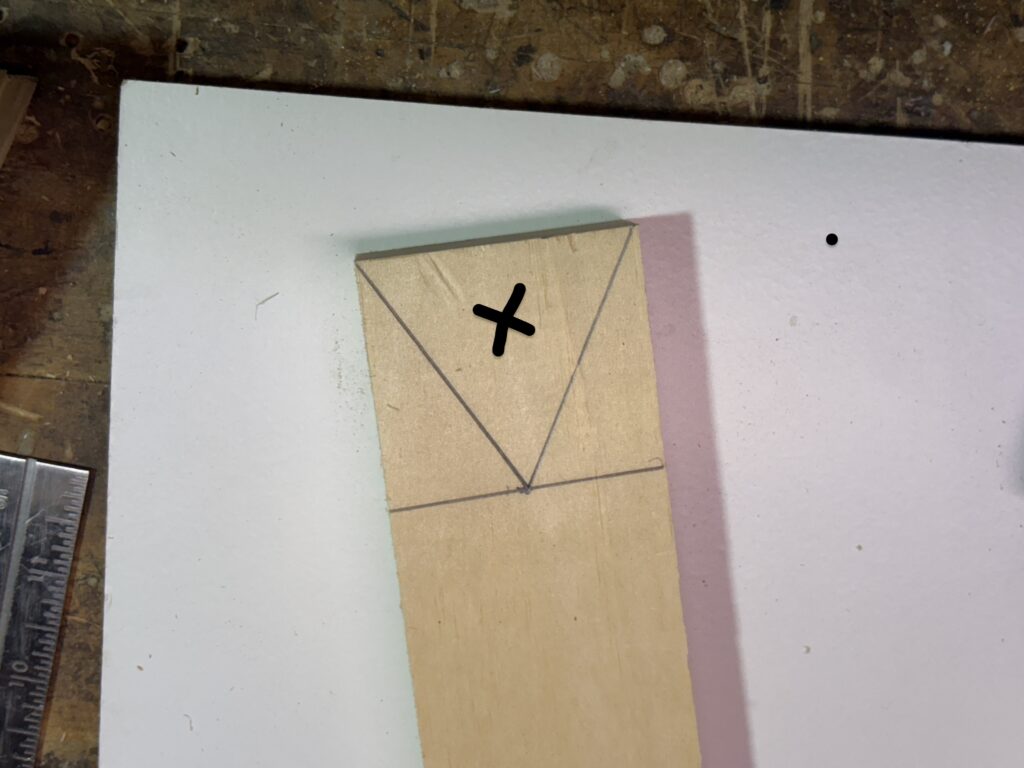
Repeat on your other two pieces. When you glue them up, you’ll see a jagged line across the bottom, just like a real Ghost!
Step Two: Quick Cuts
Next, clamp your board to your work surface.
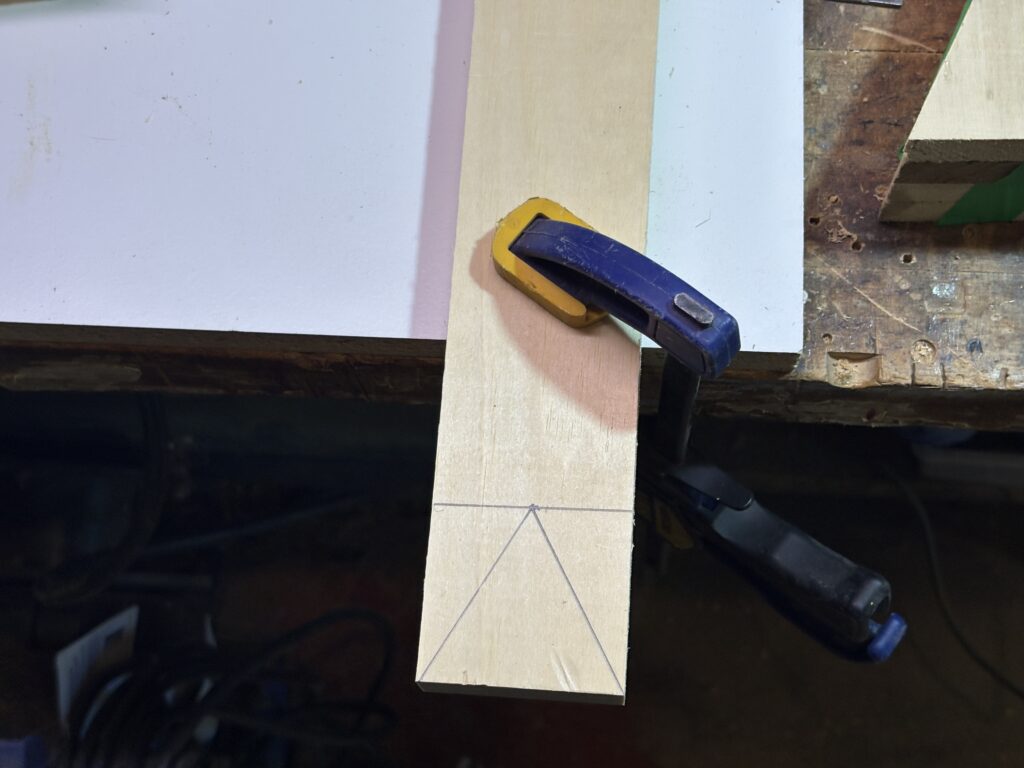
Then, use your chosen saw to cut the triangle out of the end of the piece, in the middle (this is just how I use a jigsaw; if you’re using something other than a jigsaw, set it up in a way that makes you most comfortable).
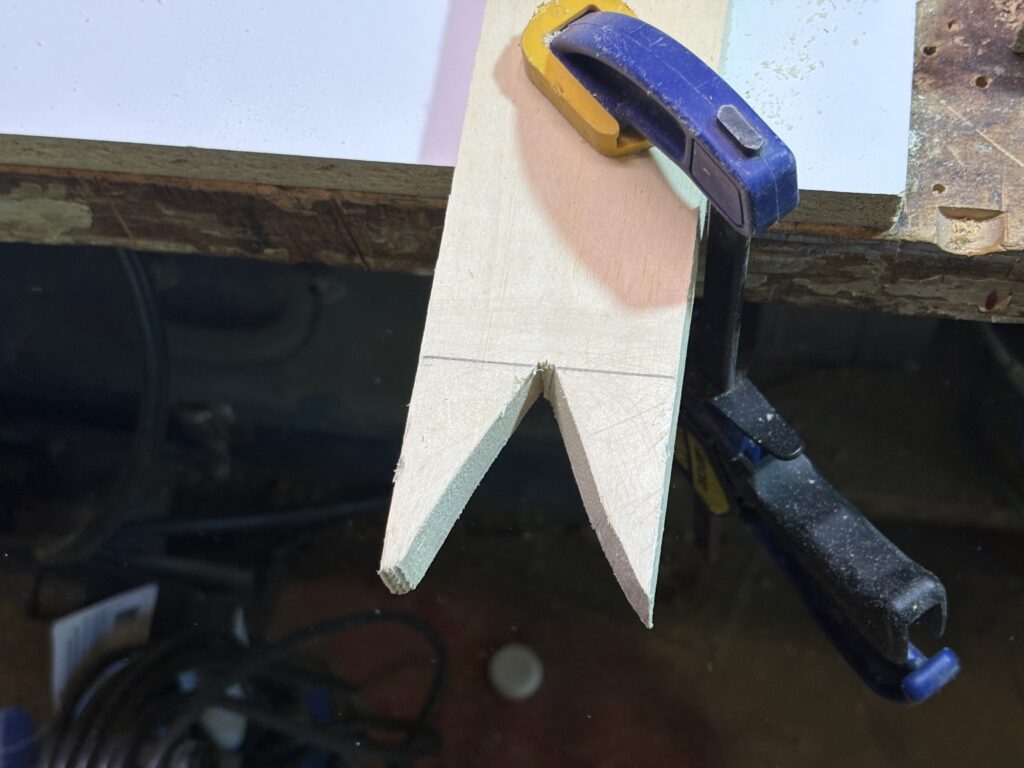
Cut the triangles out of your other two pieces, and you’re ready to move on.
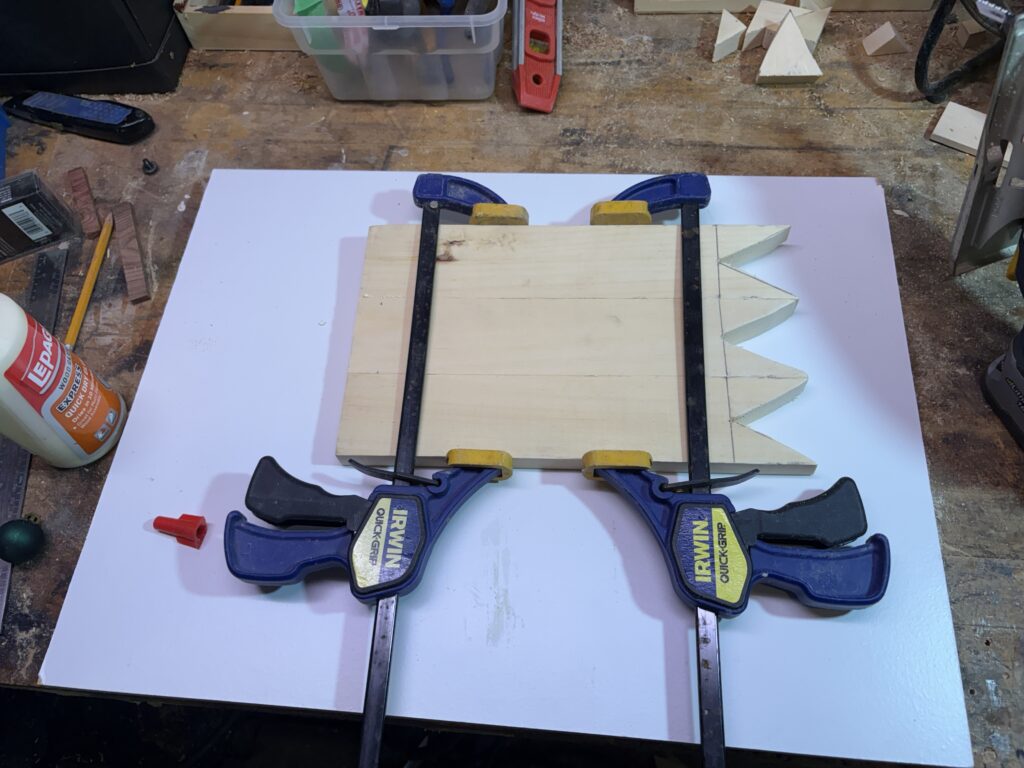
Step Three: Glue Up
Now you should have three similar pieces with the triangles cut out of the bottom.
Deem one of your pieces the “middle” piece and apply glue to both sides of it.

Then, clamp them together, paying close attention to ensure the tops and bottoms are all aligned flush with each other. Clamp them tightly and wipe away any excess glue that seeps out.
Let that sit for the recommended time that the glue needs to set.
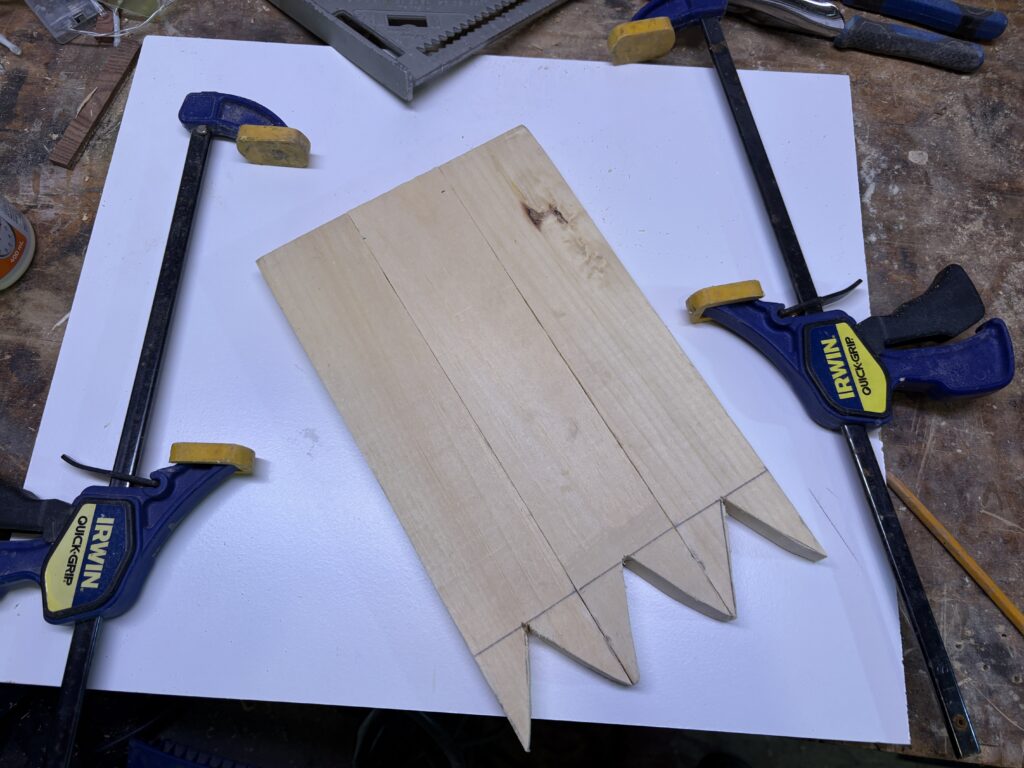
Step Four: Ahead of The Curve
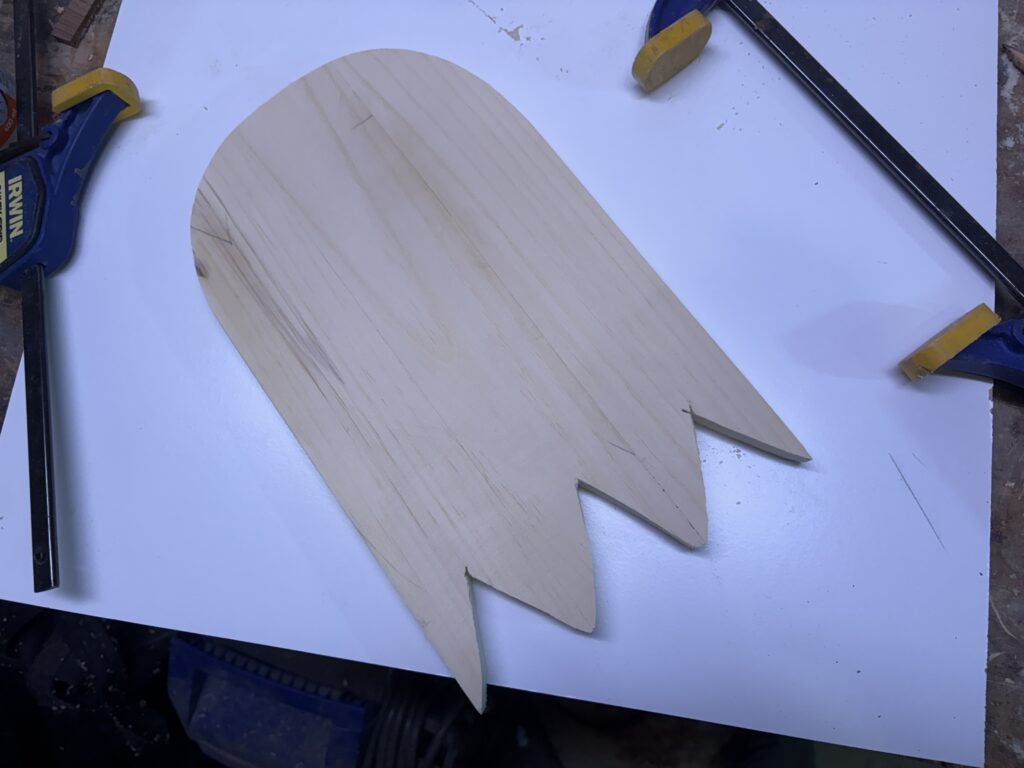
Once the glue has set, unclamp everything, and you should have a square quasi-Ghost like this.
Using a curved, uh, something (I found a paint can, but anything works) draw a curve over the top few inches of the square Ghost.
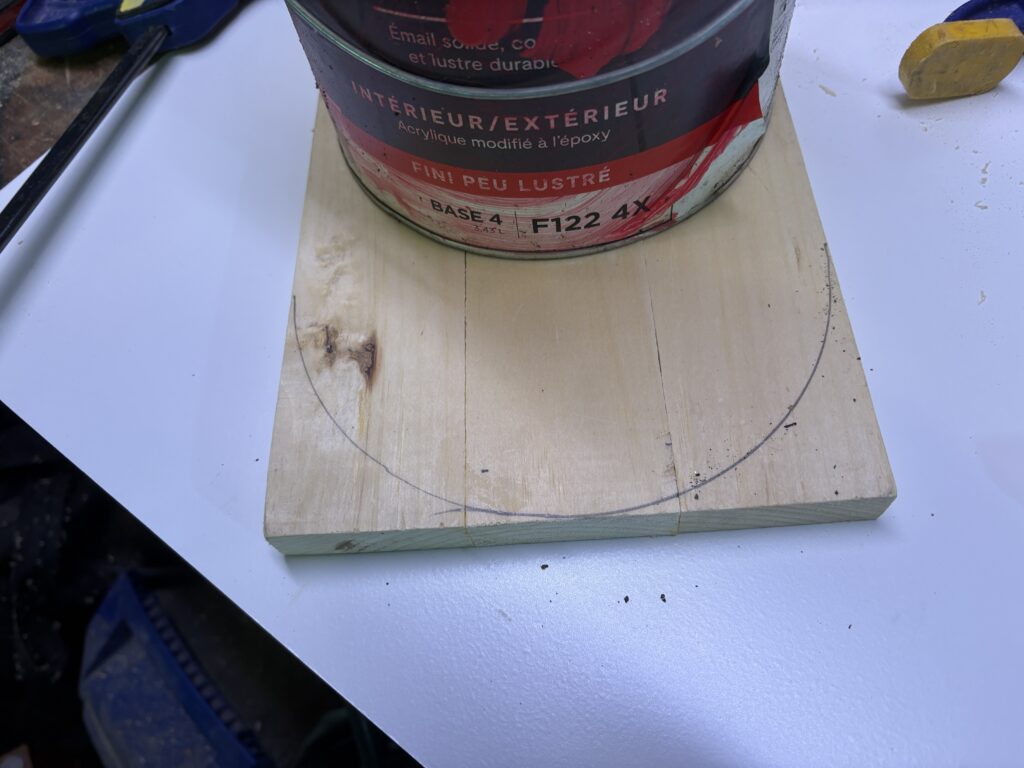
Use your saw, sander, chisel, or whatever you have to cut or sand down the excess until you achieve a nice, smooth curve on the top. Now things are looking spooky!
Step Five: Face The End
You should have a pretty solid Ghost on the work surface in front of you.
Use whatever paint you’ve got lying around (I used simple dollar store acrylic white and a Sharpie) to paint the Ghost white and draw on its delightfully scary face.
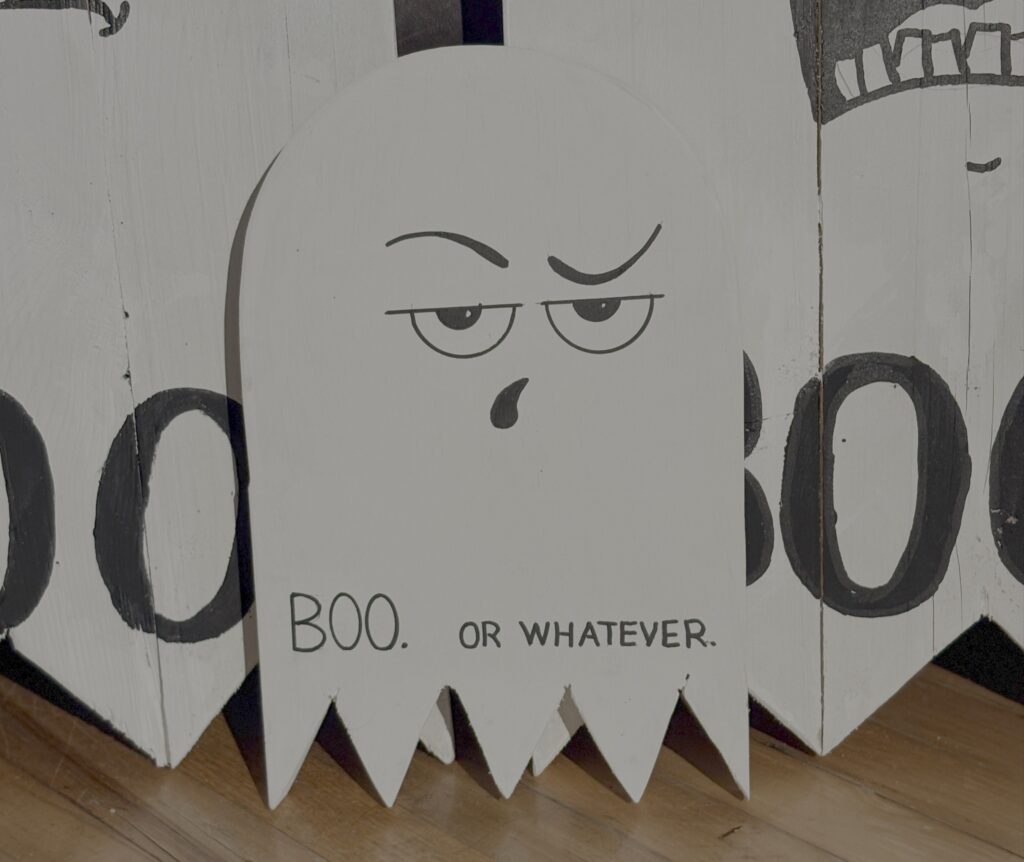
My Ghost is a teenager.
Anyway, have fun with it! You and the kids can make your Ghost as scary, creepy or cute as you want! Attach a length of string or a hanger to the back and it’s ready to ghost-er, I mean go!
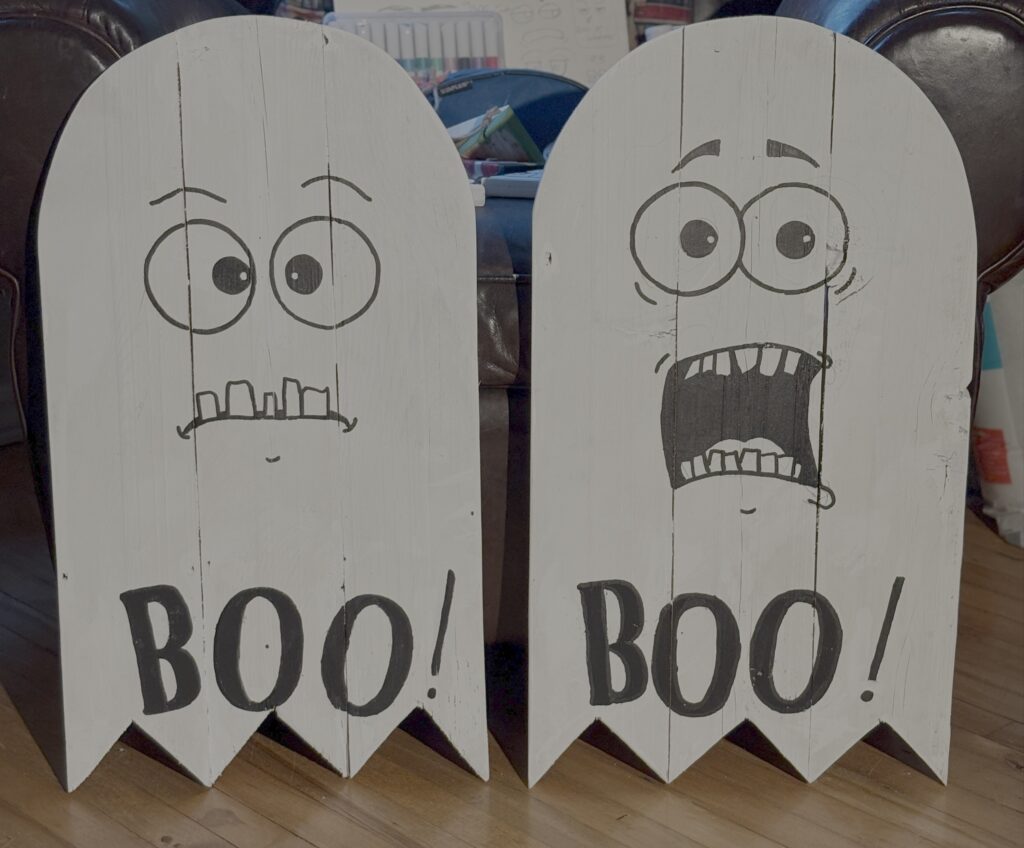
As you can see, this plan works with virtually any size and type of wood you can find. These larger ones are approximately three feet tall and were made from reclaimed fence pickets.
If you’re going to hang your Ghosties outside, I recommend applying a clear coat to protect the paint from weathering. You can find several in any hardware or craft store.
Stay Boo-tiful!